

Revu Tool Chest - Tutorial
If you work in the AEC industry, you know how important it is to have a tool that can handle all your design review needs. That's where Bluebeam Revu comes in. With its powerful Tool Chest feature, you can store and group your tools in one place. This guide will show you how to use the Tool Chest in Bluebeam Revu, step-by-step.
You can access the Tool Chest by signing into Bluebeam Revu and selecting Tool Chest from the left panel. The Tool Chest will be opened like the one below.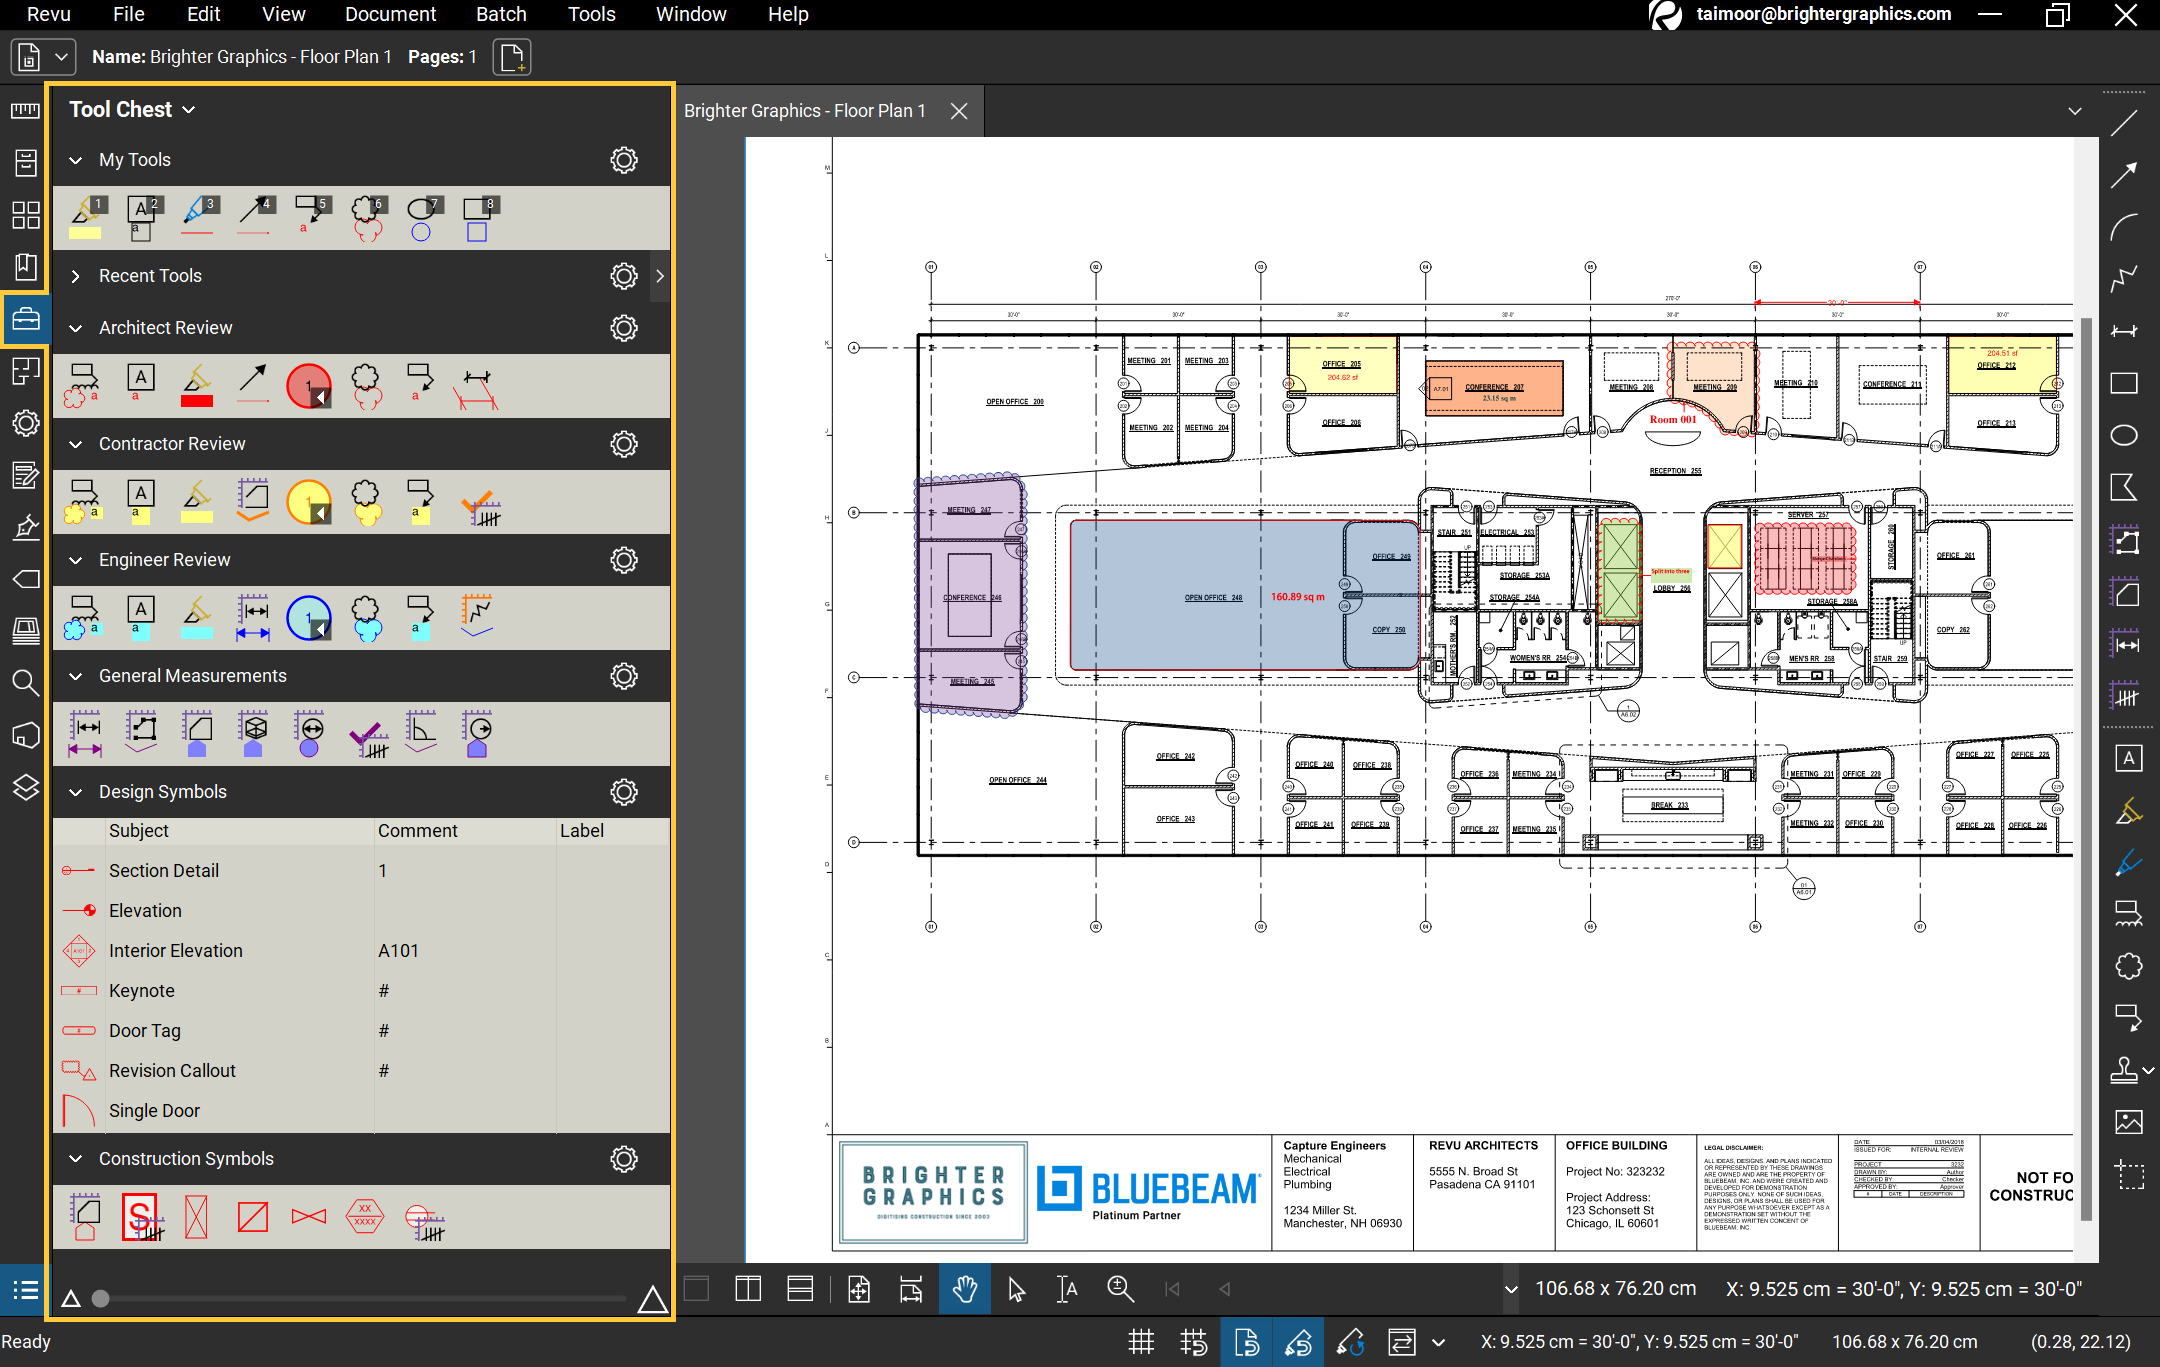
When you open the Tool Chest panel, you'll find some preloaded tool sets that Revu comes with. These tool sets are specifically used for "Design Review" and "Quantity Take-offs," as well as other symbols commonly used in the AEC industry. You can also create your personalized toolsets.
The tool sets that appear in the Tool Chest depend on the type of profile you're working in. To change profiles, click on the Revu dropdown, hover your cursor over Profiles, and then select your desired Revu profile. In the Revu (Default) profile you'll have the Architect, Contractor, and Engineer Review toolsets, as well as toolsets for measurements and symbols.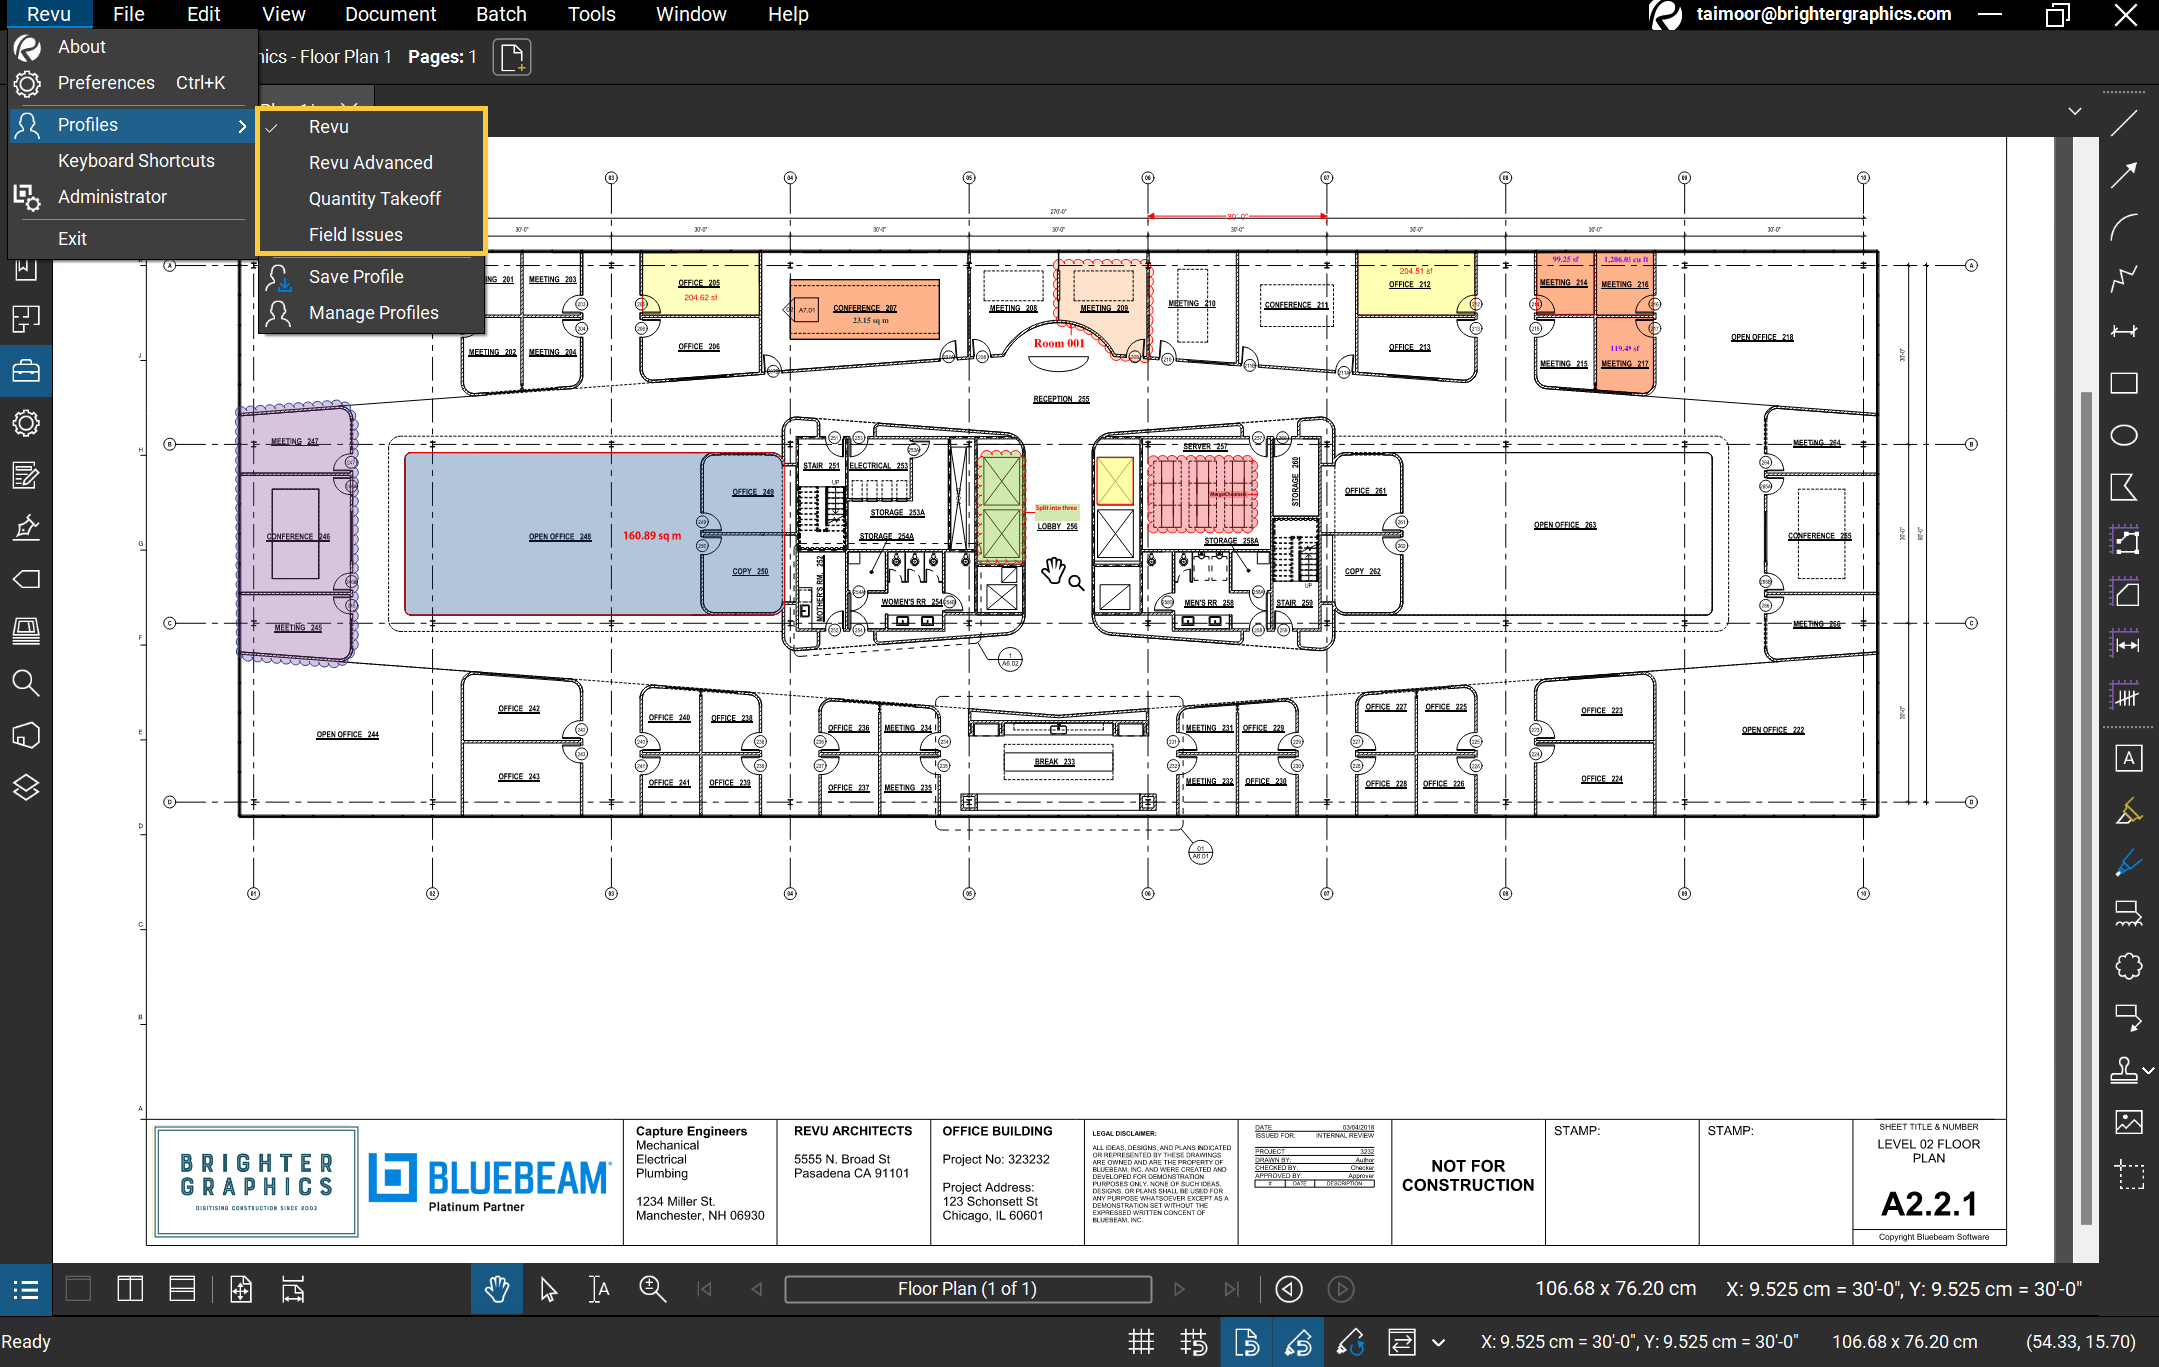
Tip: Do you find it difficult to navigate the panel and explore the Tool Chest or other panel options? No problem. Just right-click on the left-side panel and select "Show.” Then, click "Tool Chest” or any other desired panel to make it pop out.
Learn more about how to navigate and use Revu 21 interface.
To adjust how you view each tool set, click on the settings gear next to your desired tool set. You can choose to display the coloured icon of the tool or view the markup details like subject, comment, and label in a chart. For instance: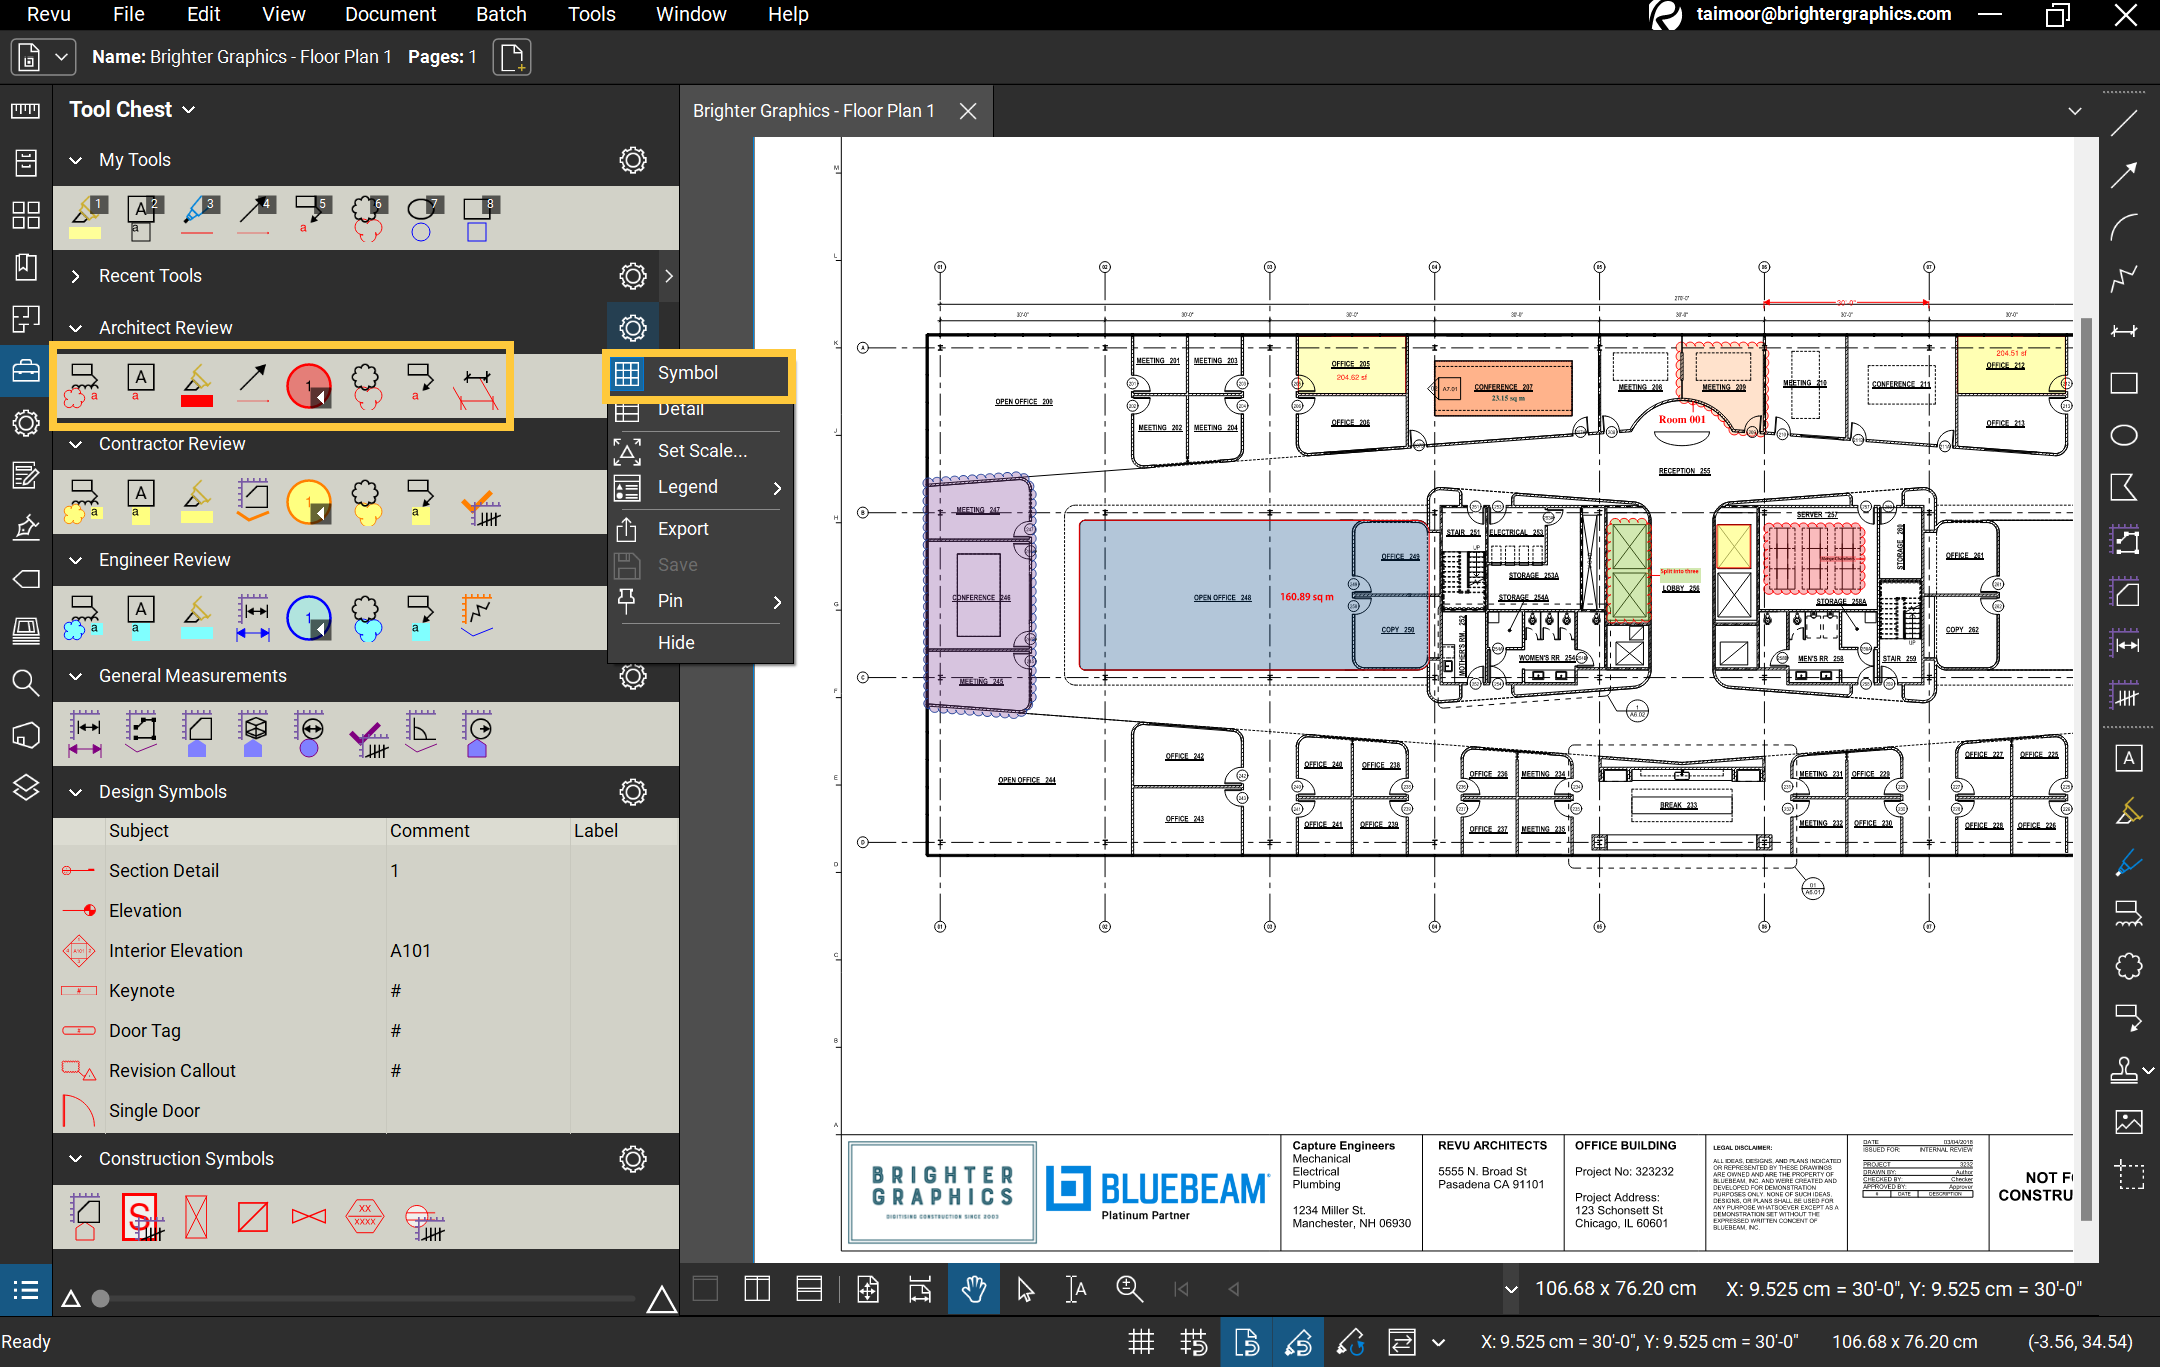
Symbols (Icons) view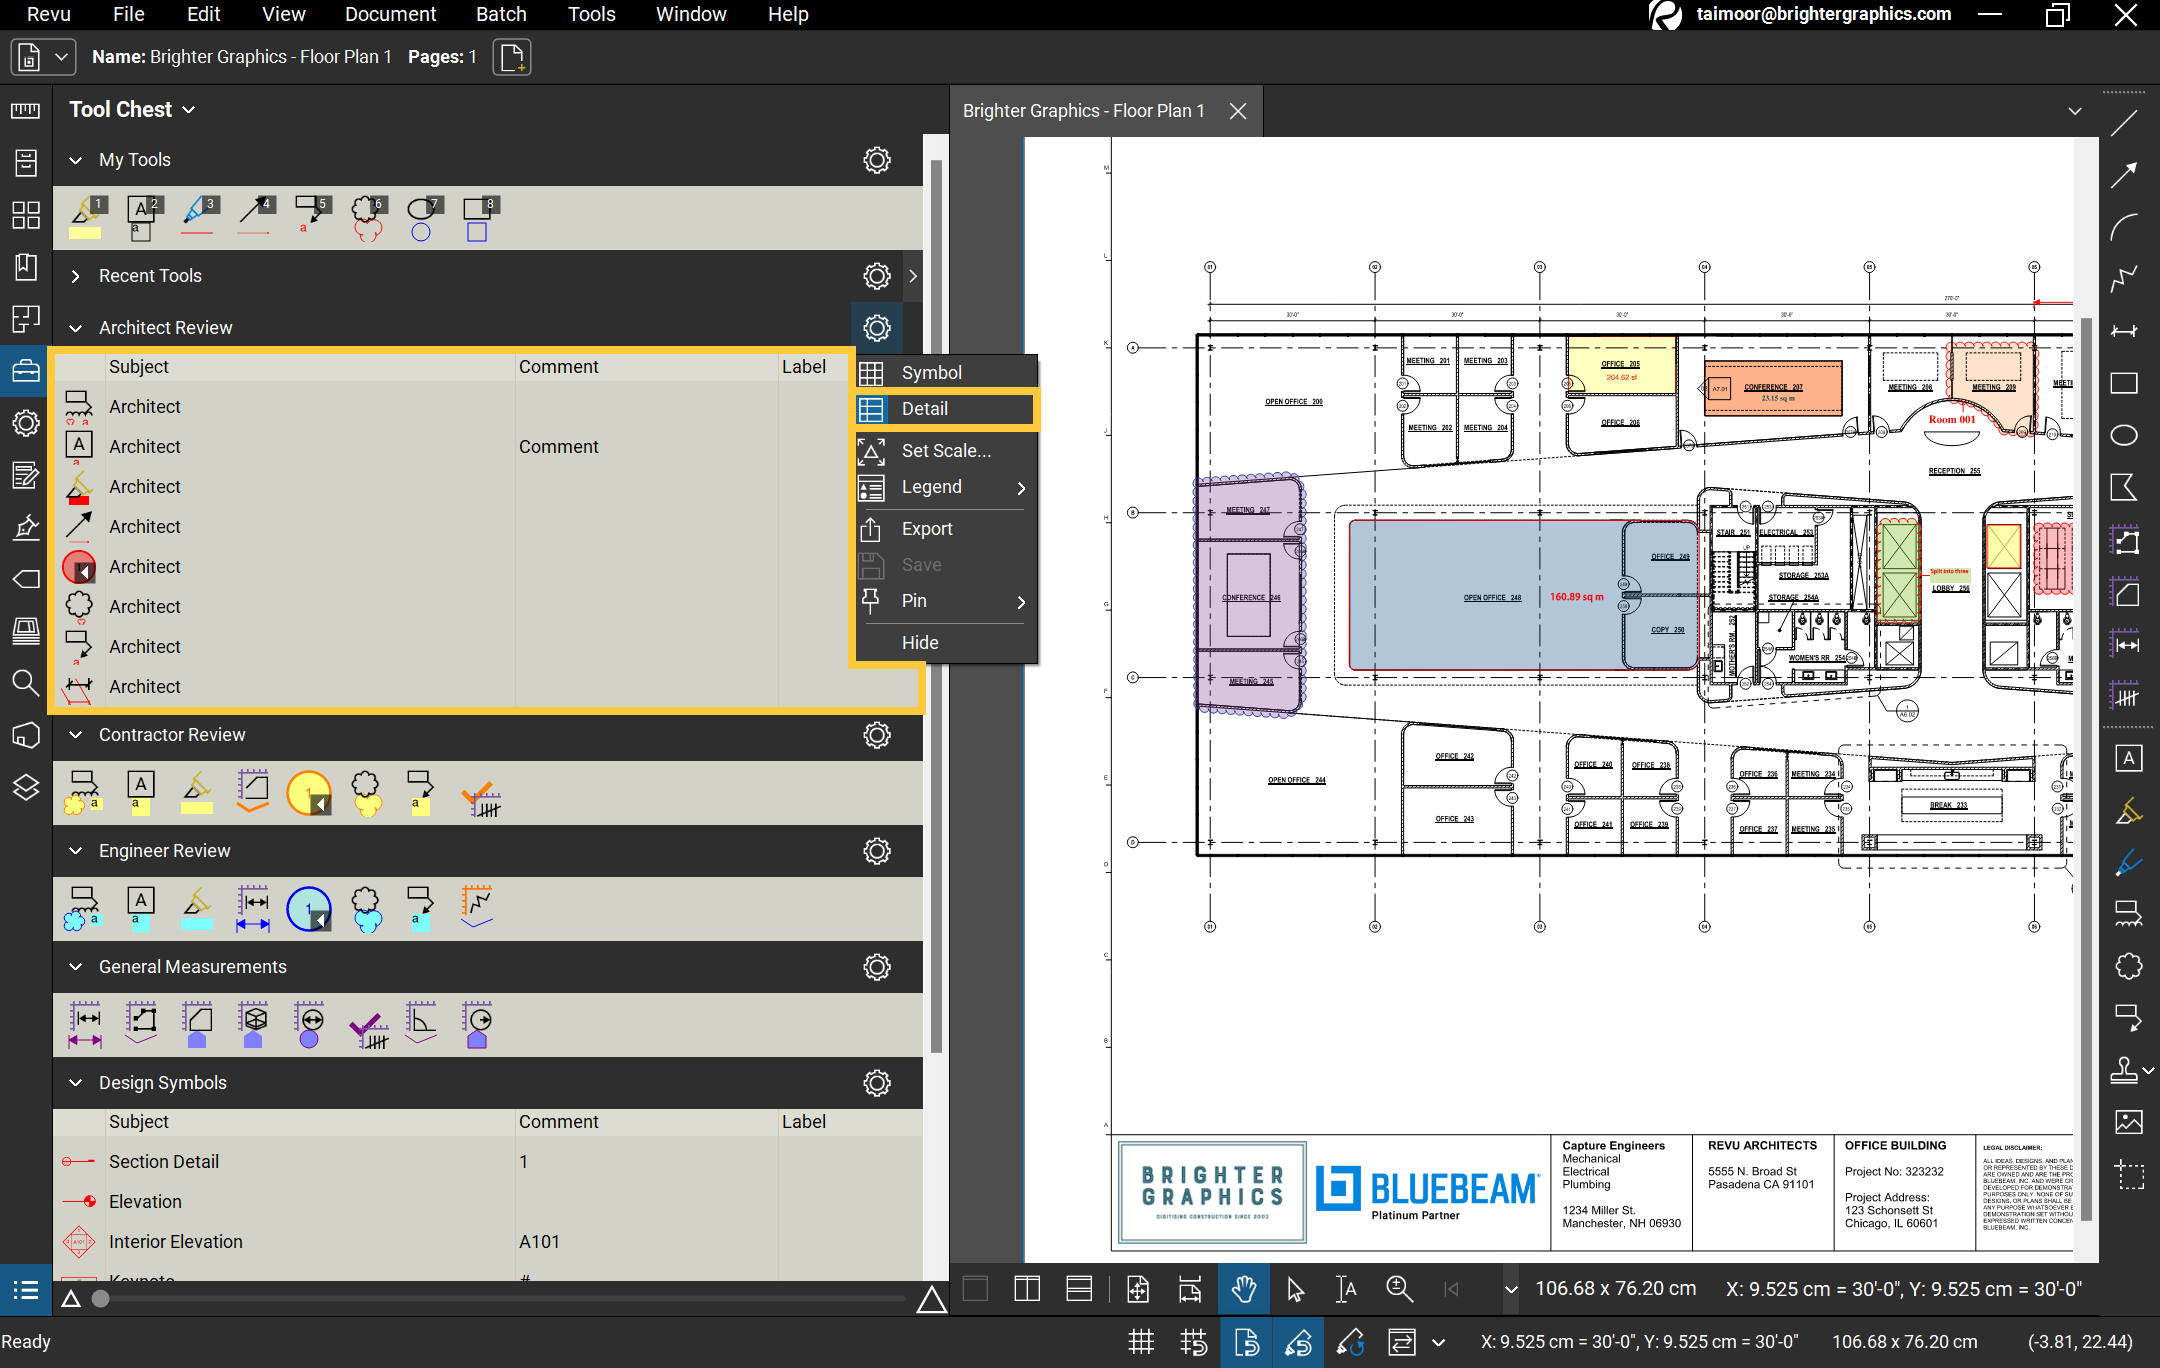
Detailed view
You can also set the scale of a tool, which is useful when working with documents with differing scales.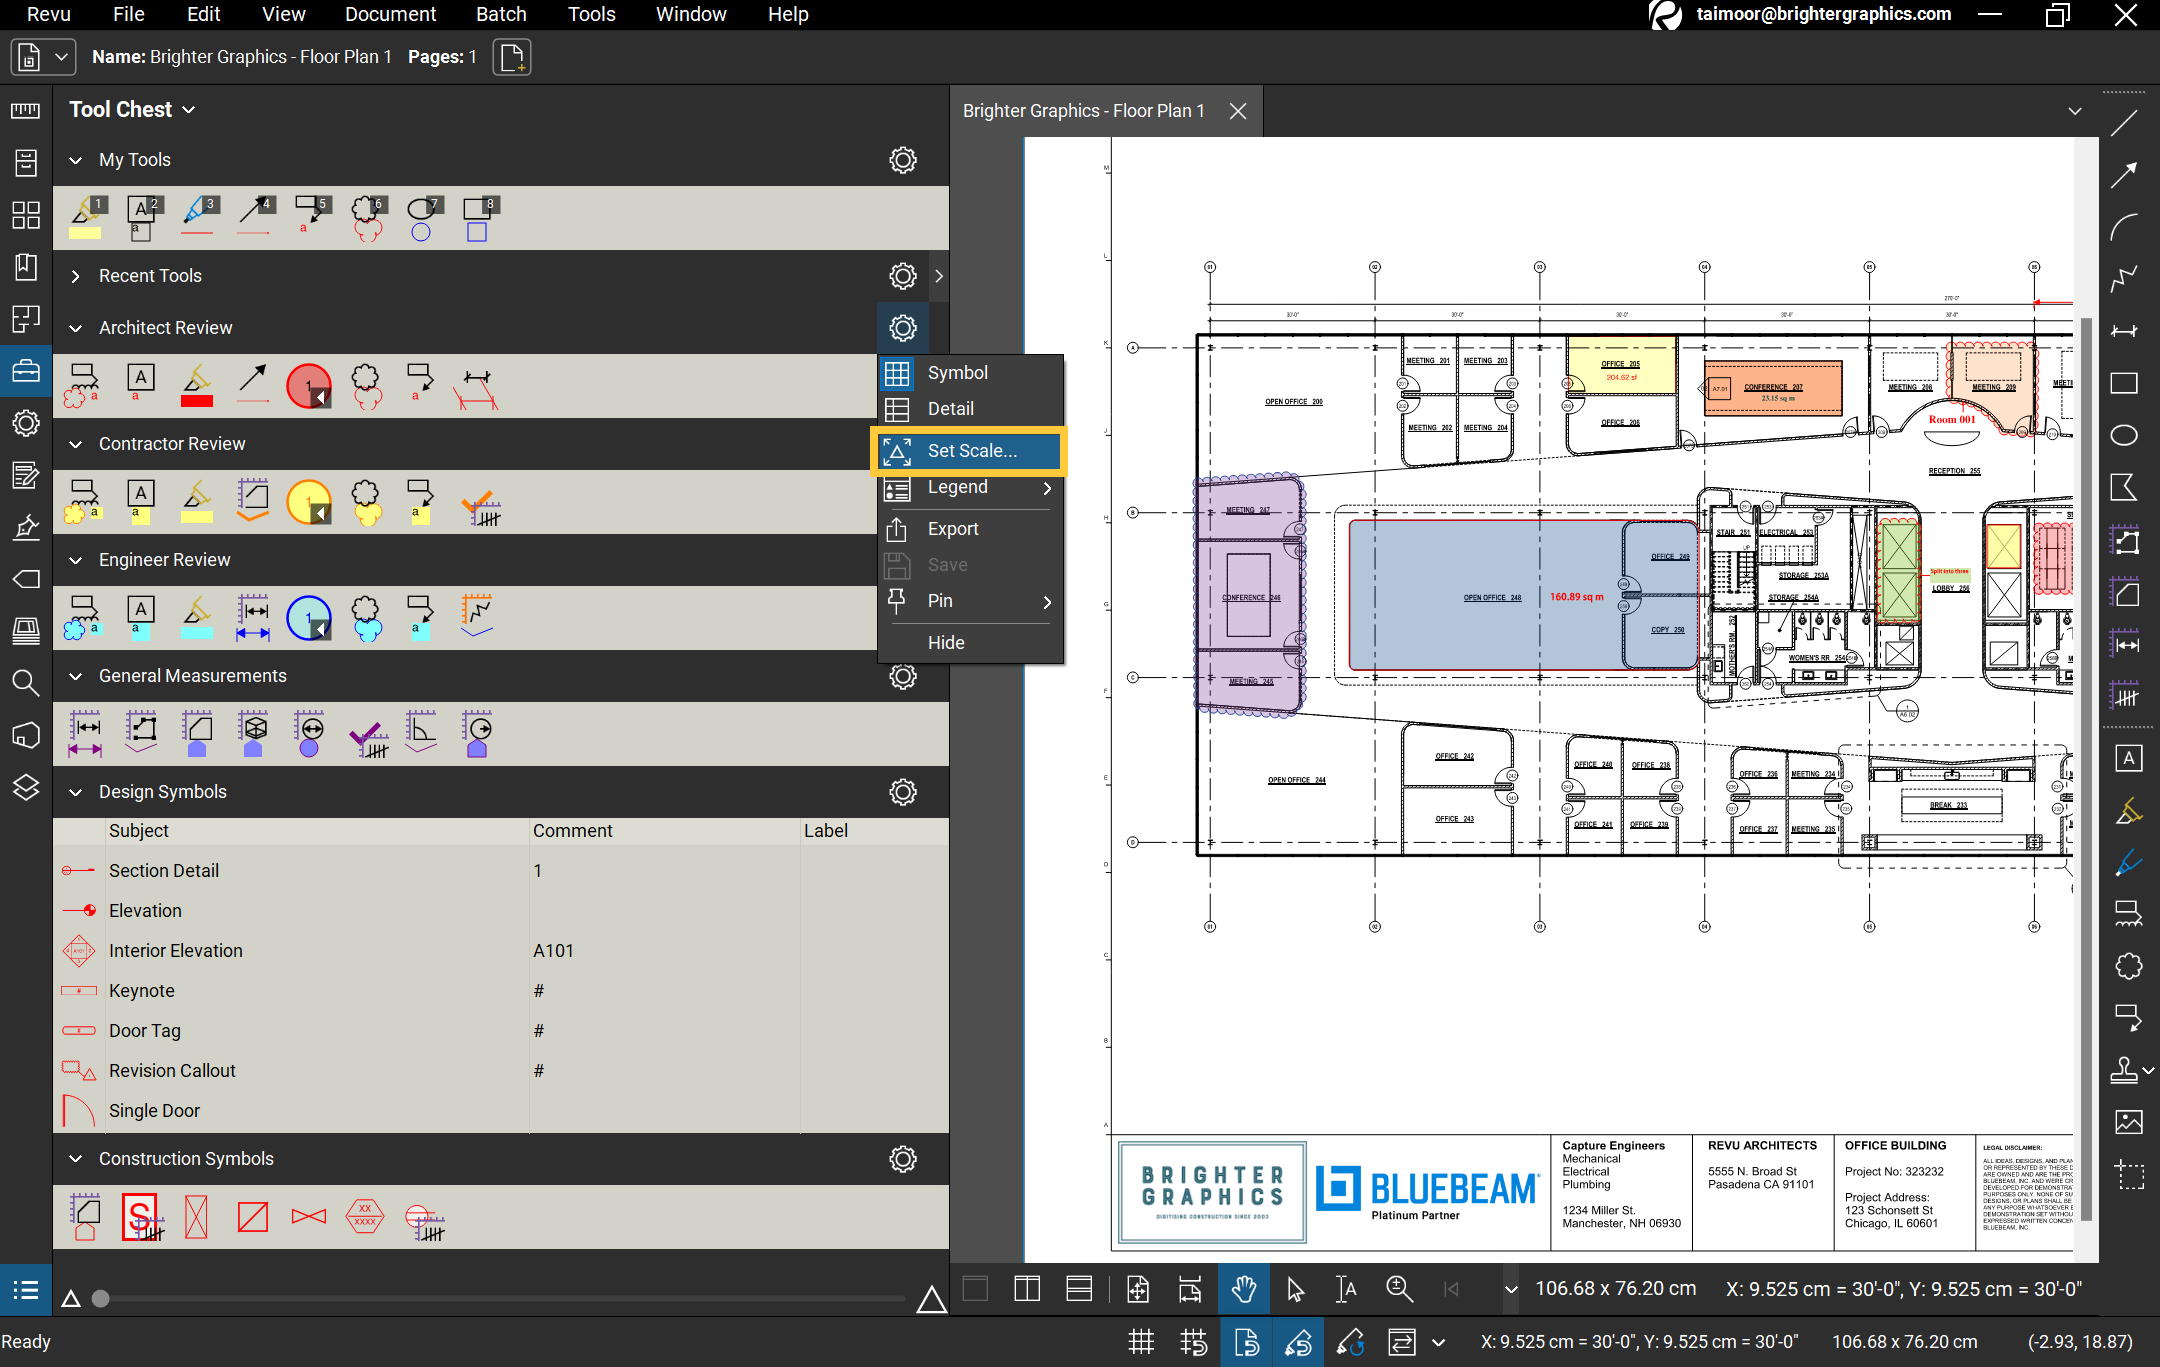
Accessing scales for individual toolsets.
Calibrate to set scale.
Check out our detailed guide on How to Calibrate your drawings in Bluebeam Revu.
To Export your toolset(s):
- Go to the toolset settings and then click "Export."
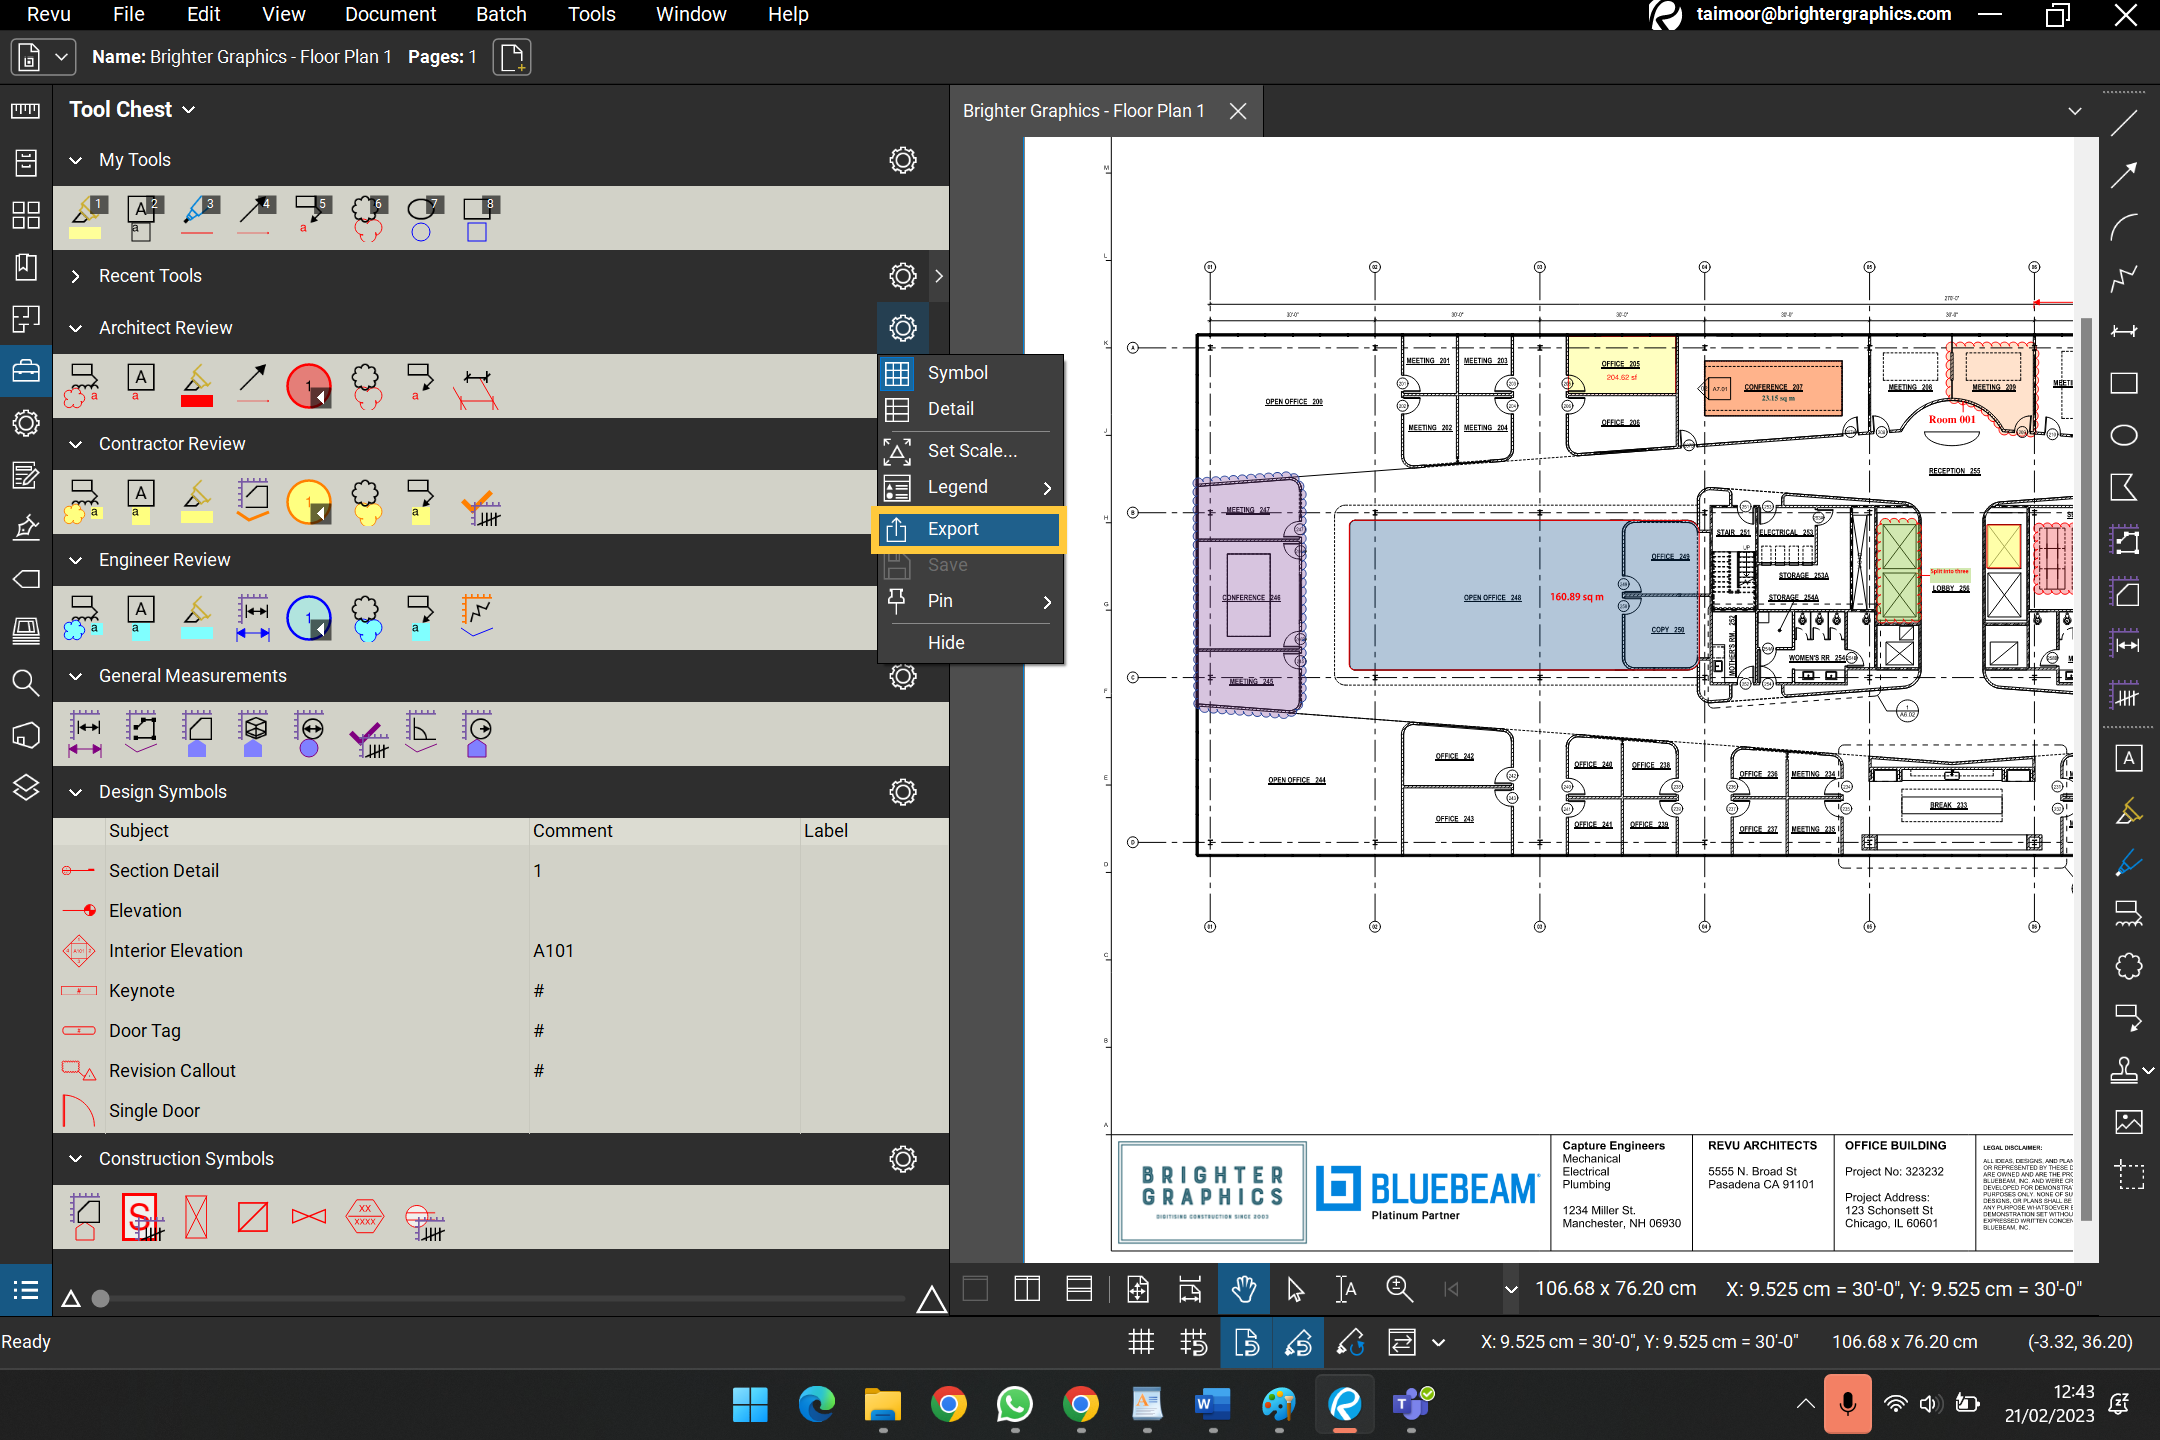
- Revu will ask you to save the toolset on your computer. Choose your destination folder and click “Save.”
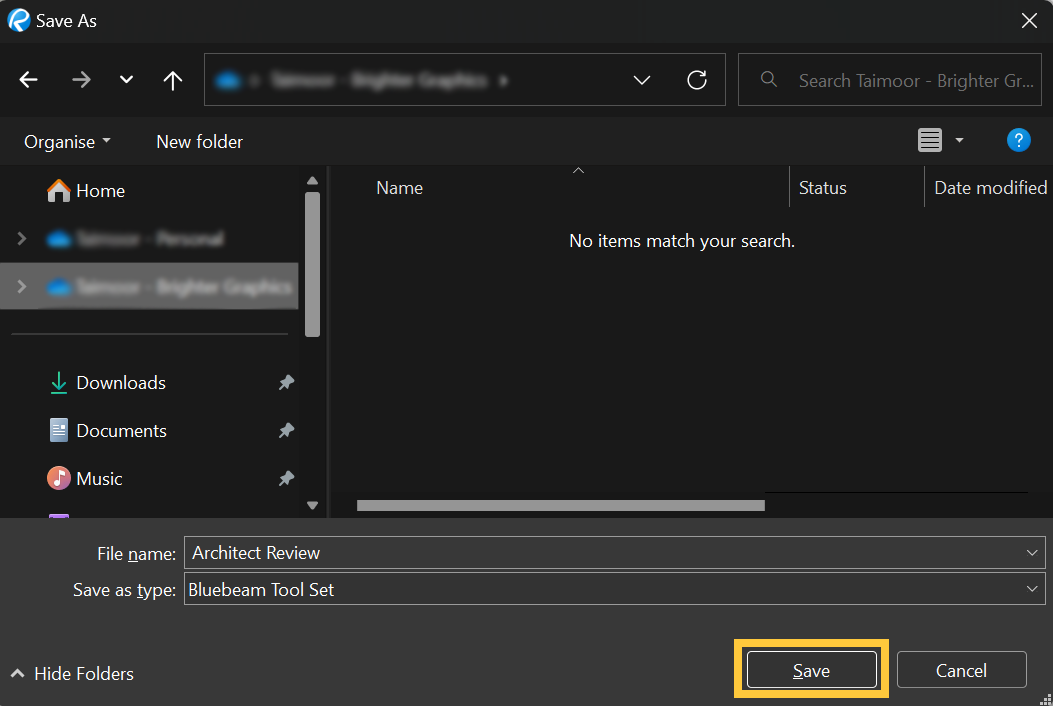
Once saved, you can share the file with your co-workers.
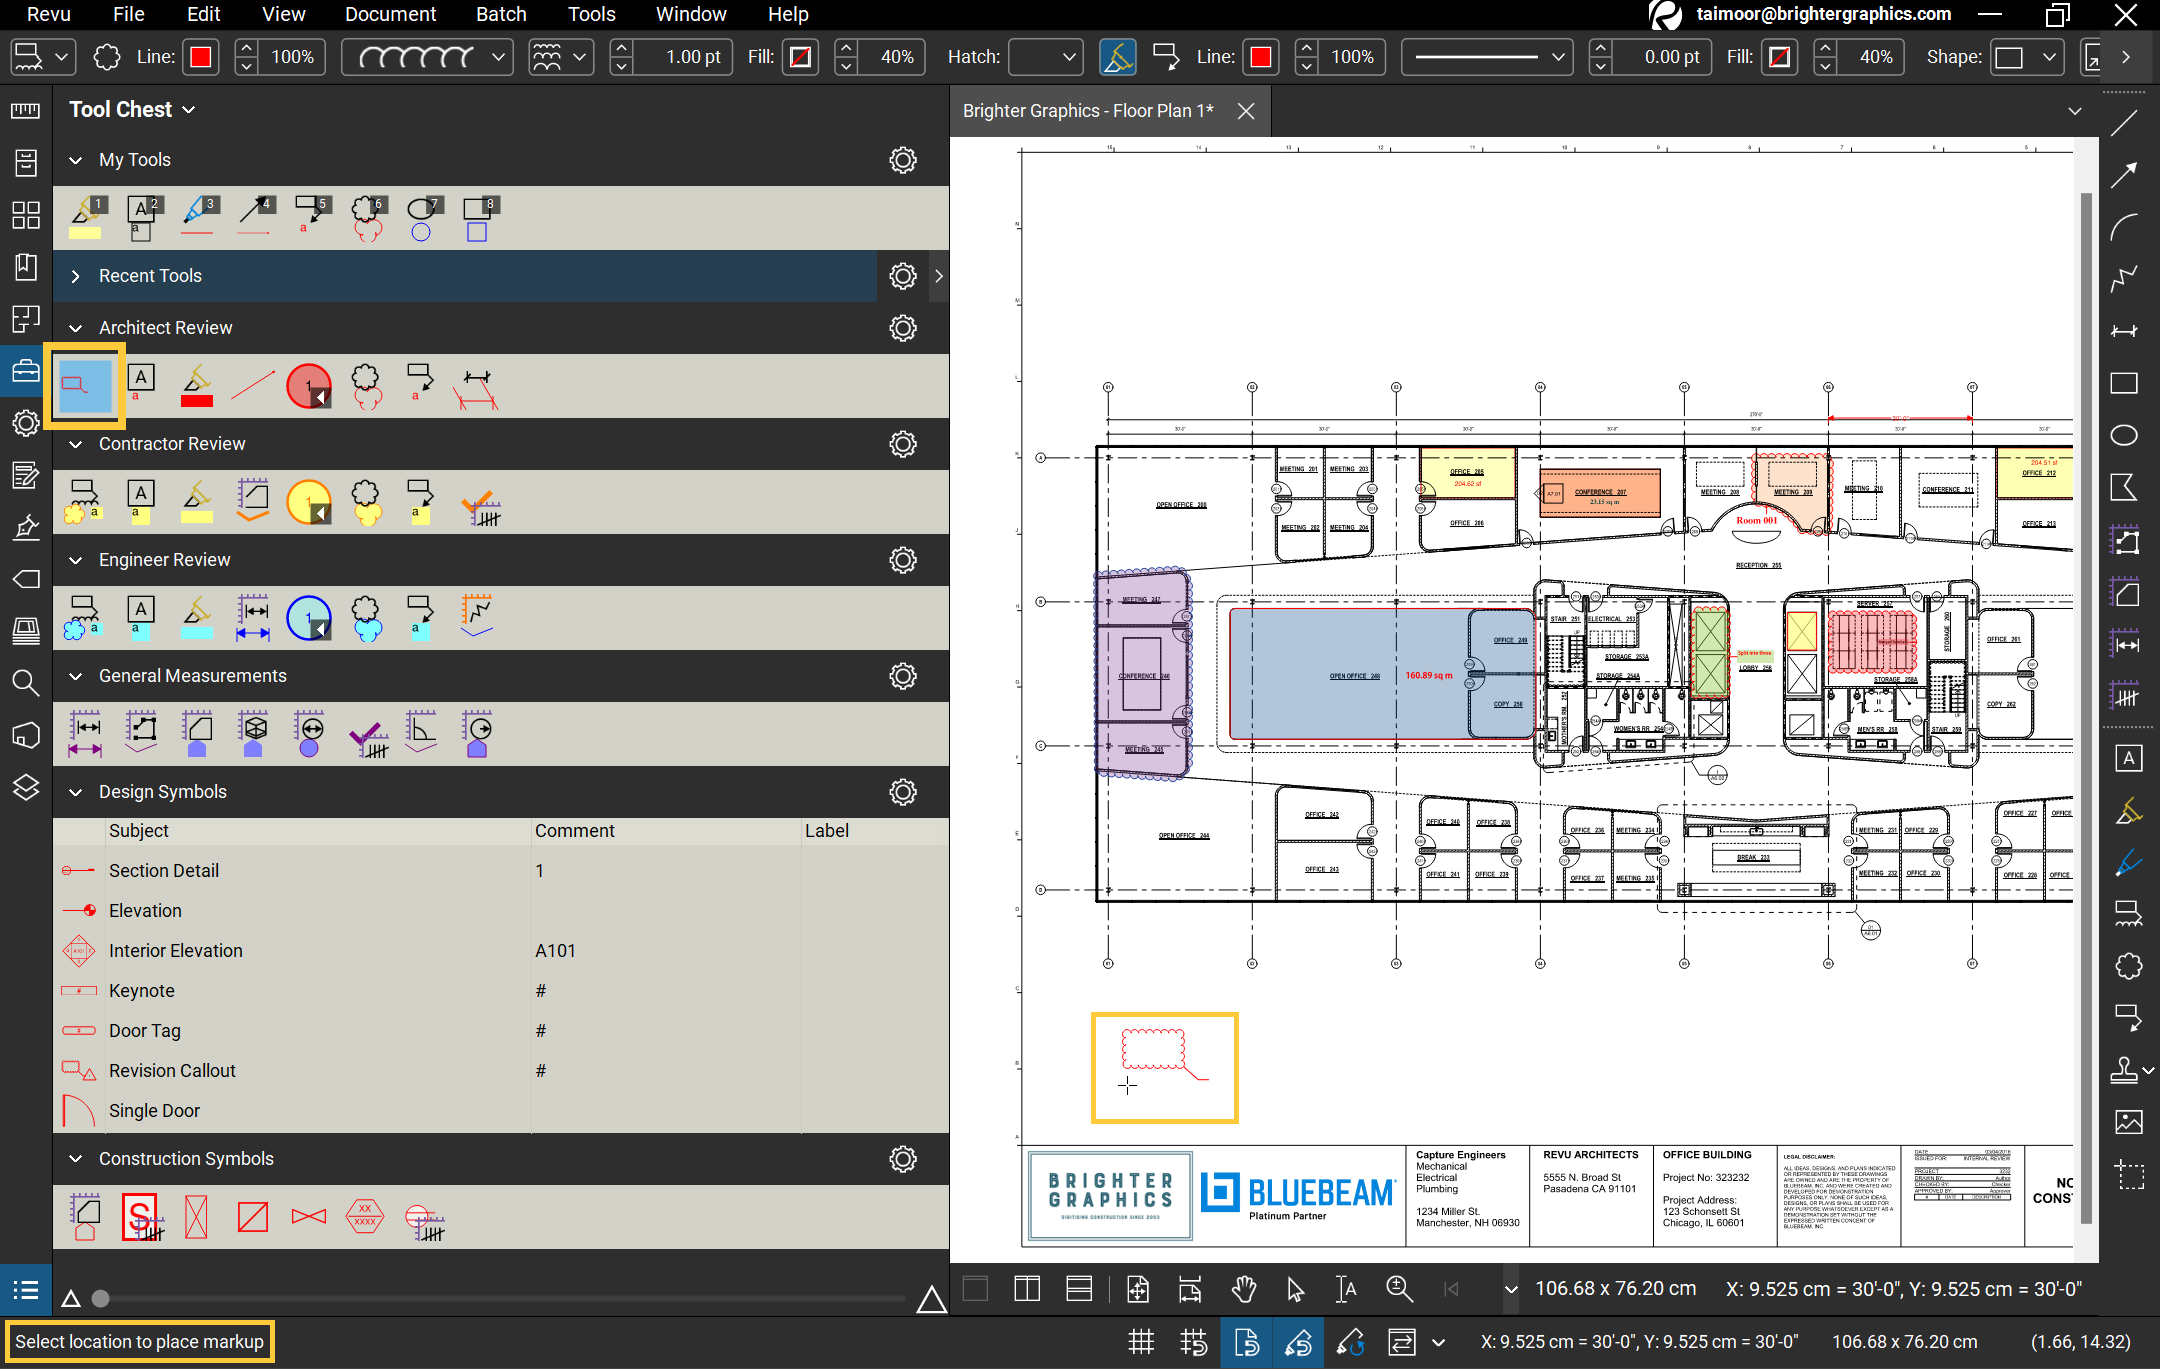
When working with tools from the toolset, you have two options: "Properties Mode" and "Drawing Mode."
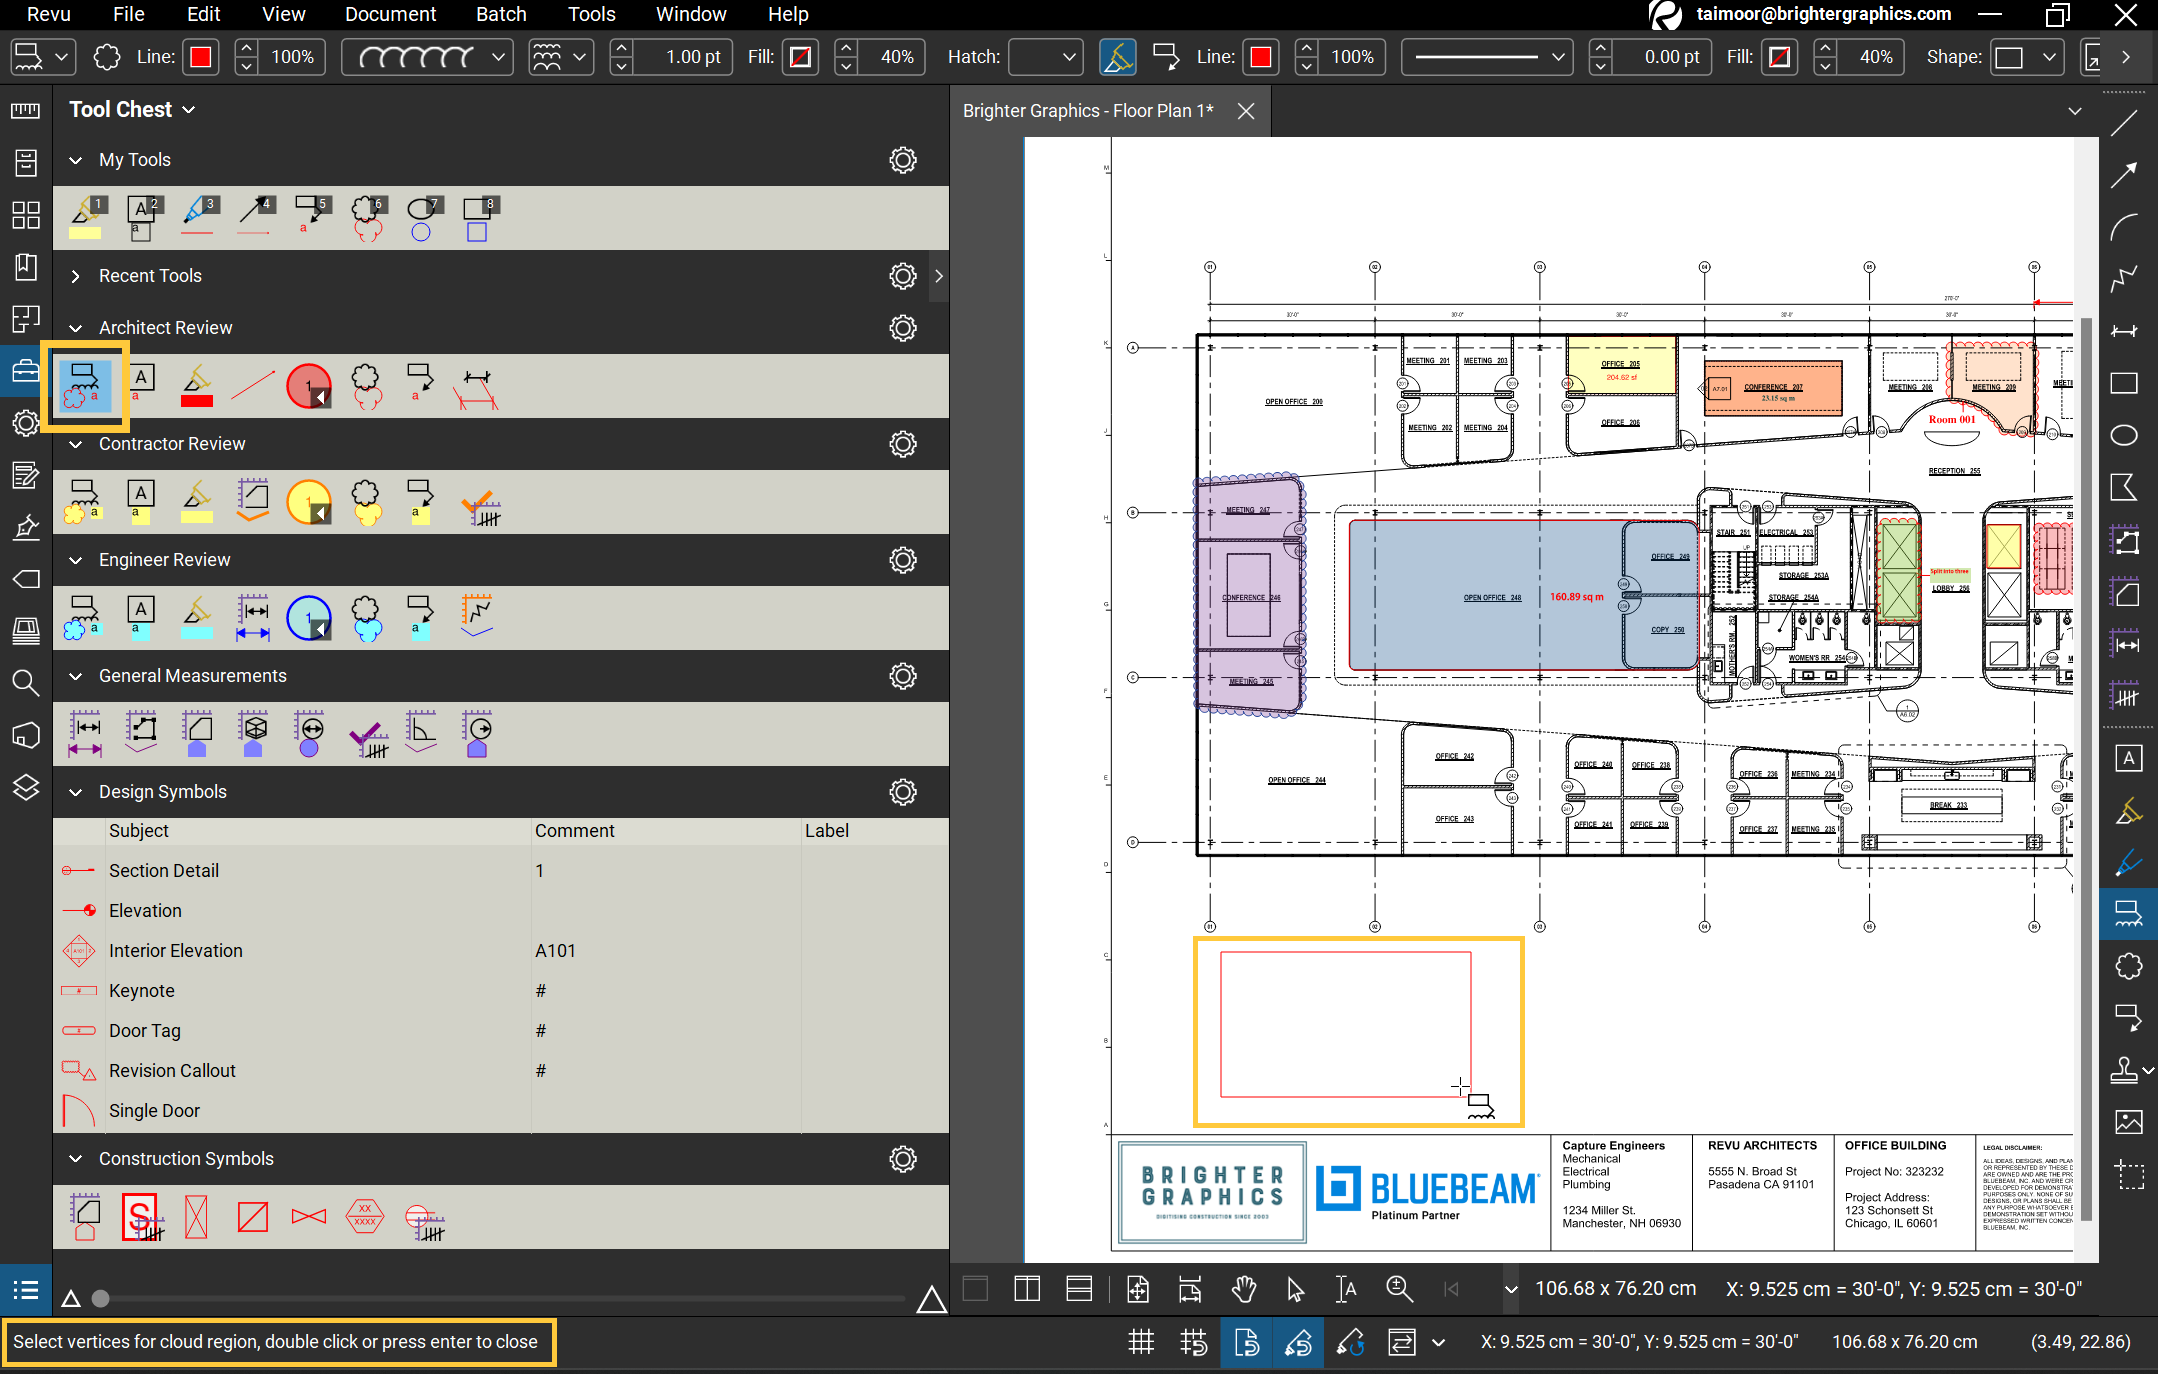
- In the Properties Mode, the markup tool appears as a usual markup icon, allowing you to duplicate only the colour and appearance settings of the markup while still creating a custom shape (either by click-&-drag or adding individual anchor points). Consider the following Cloud markup in action (with Properties Mode).
- In the Drawing Mode, it will duplicate the shape and appearance of the markup as it appeared when first created. Consider the cloud markup in Action (with Drawing mode)
Toggle between Properties and Drawing modes by making double-clicking on the desired markup.
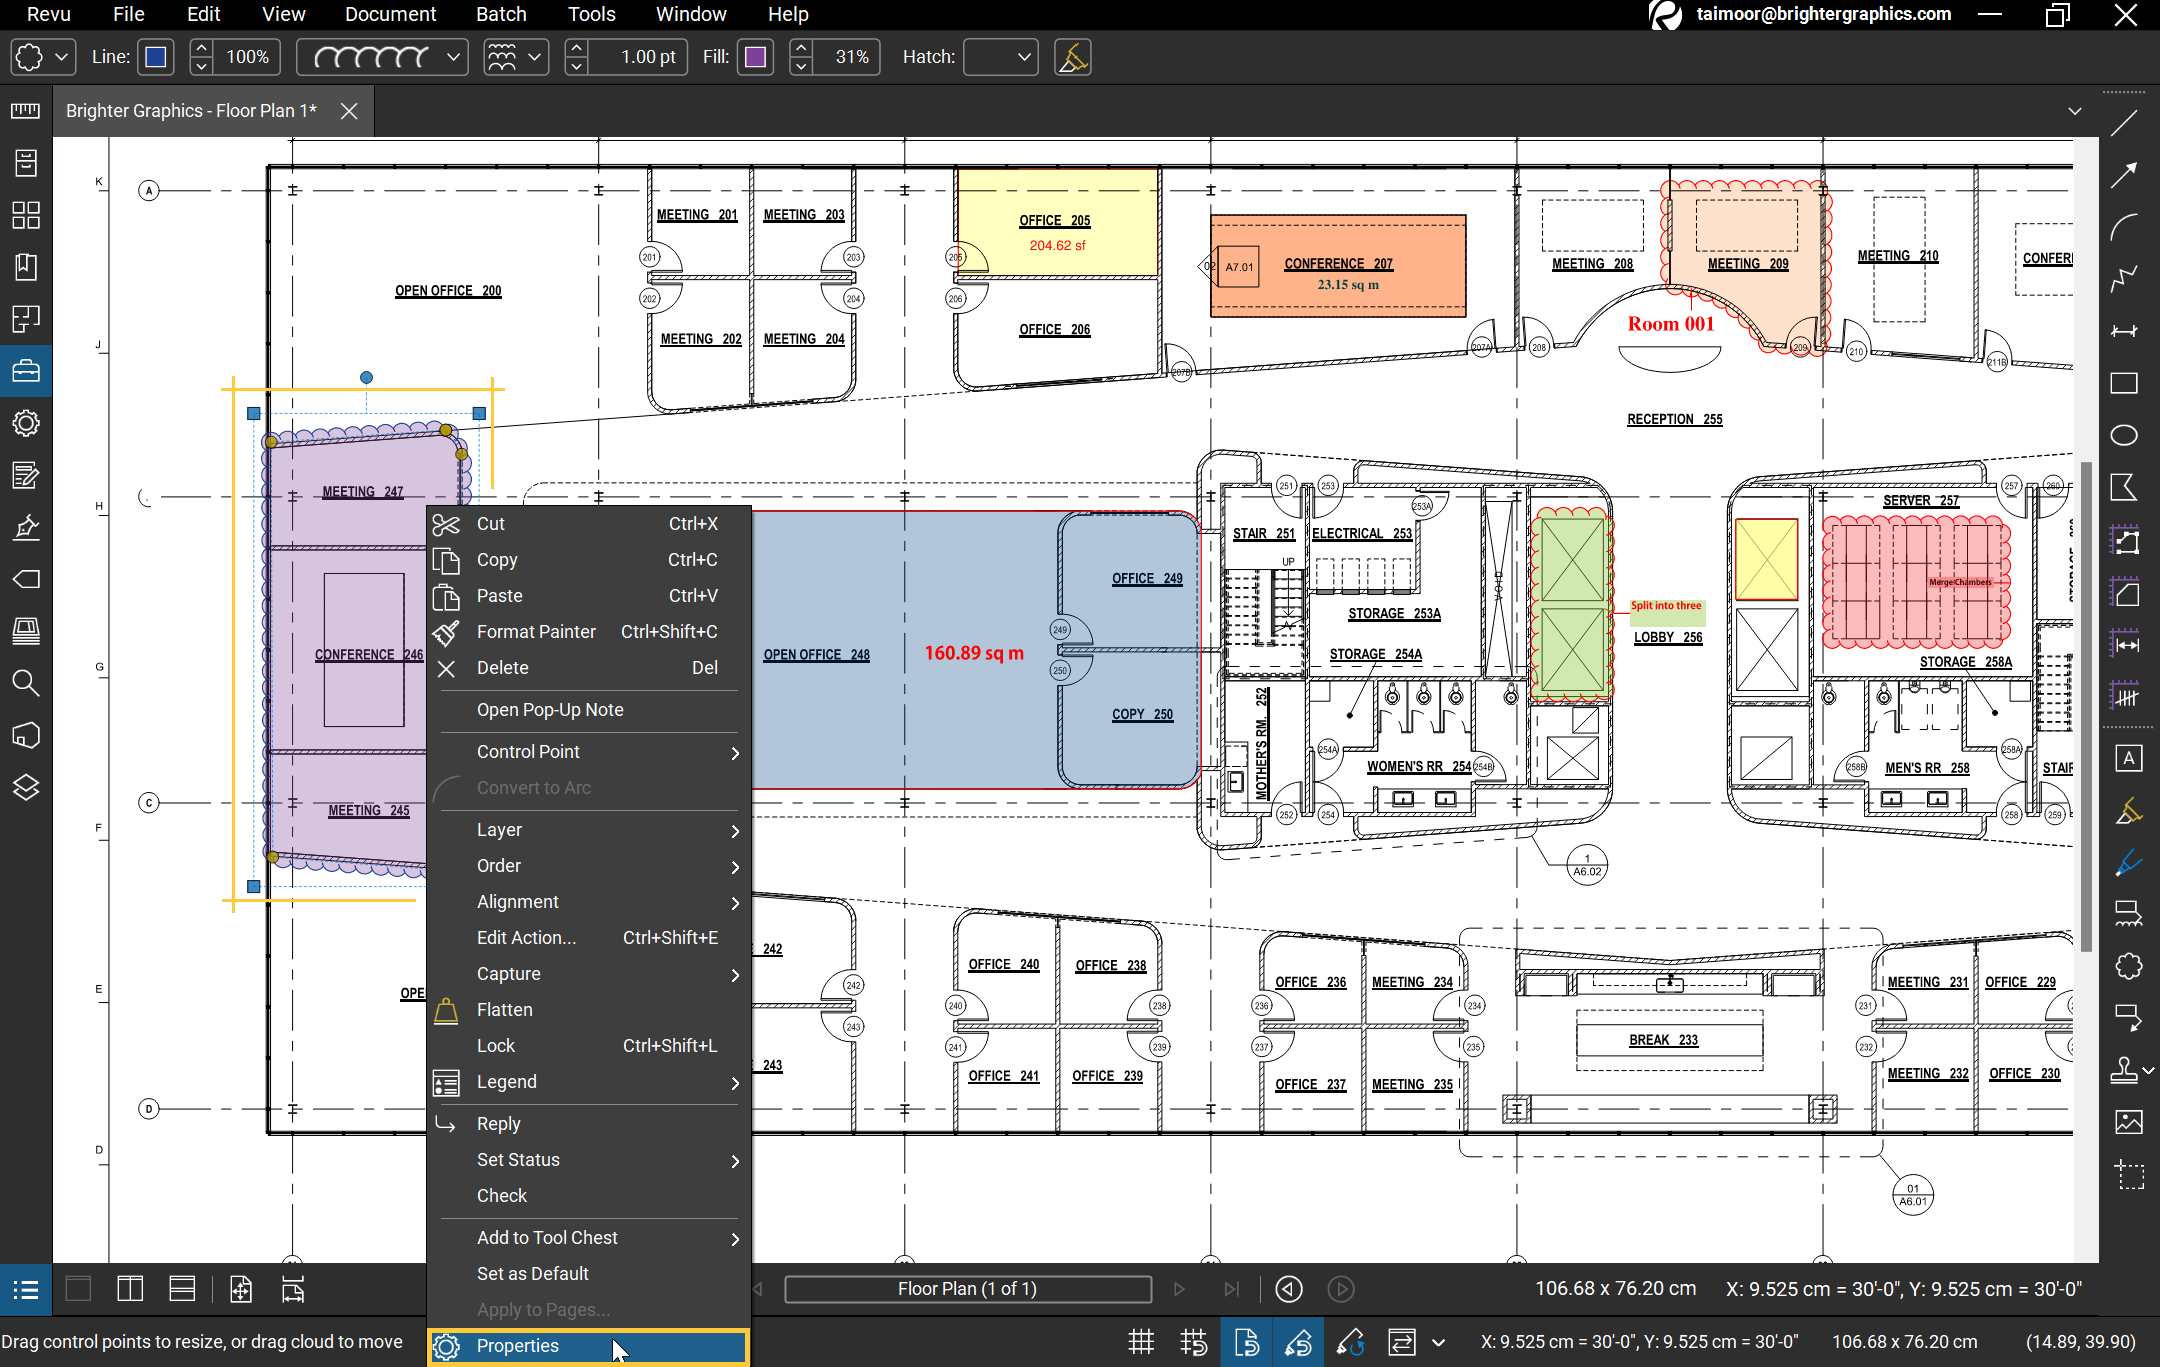
To customise your tool sets, you can add custom markups to them by:
- Selecting a markup and clicking the "Properties" option from the menu.
- Click the "Add to Tool Chest" option in the Properties.
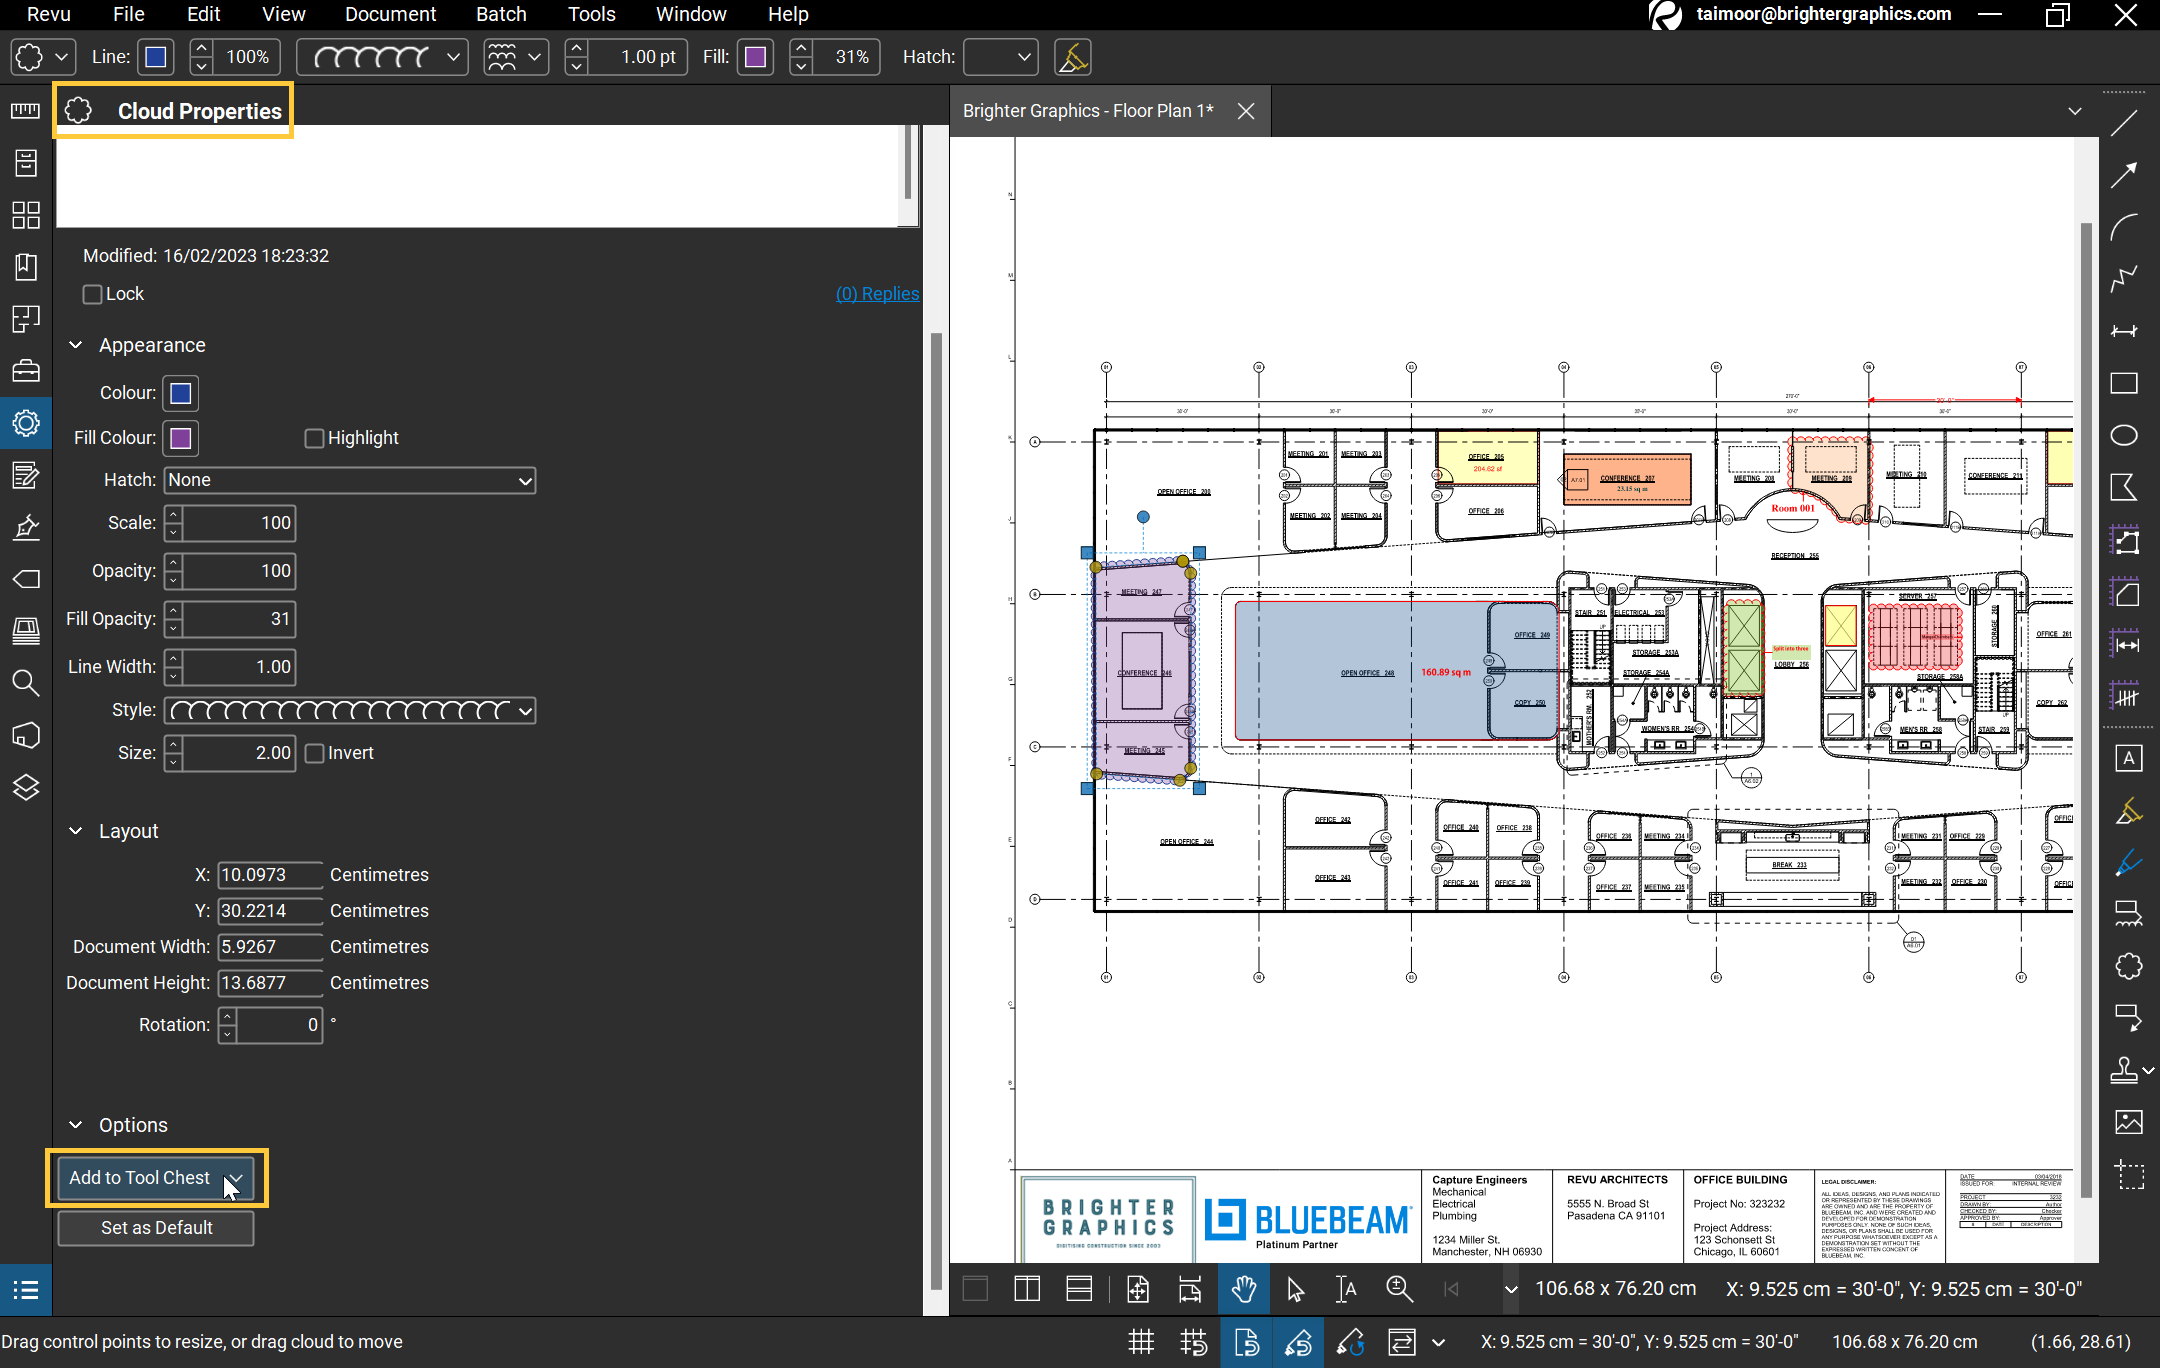
- Select the destination toolset from the dropdown menu (for instance, choose “My Tools”).

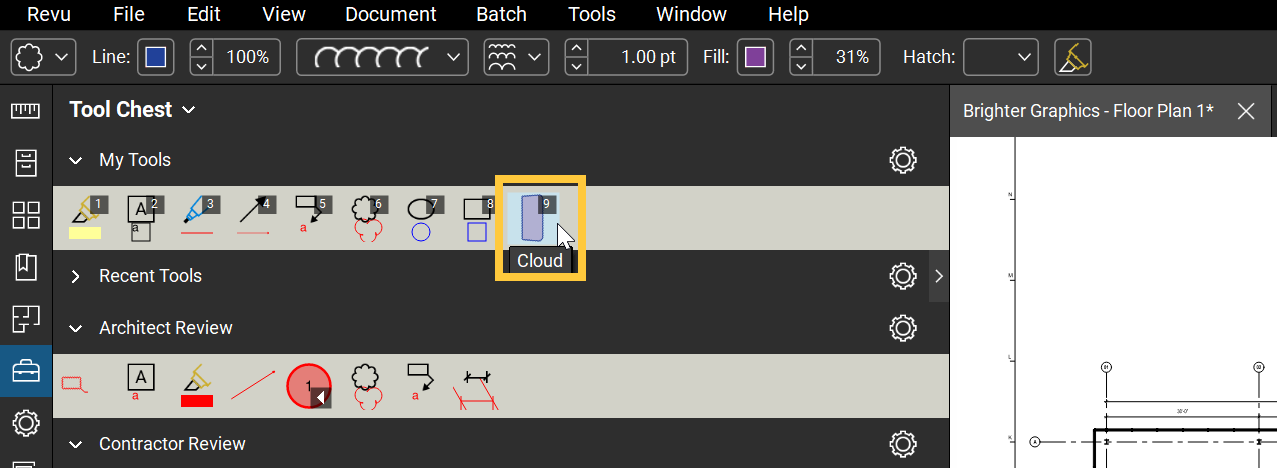
- Your markup will be saved in the destination tool set like the one below.
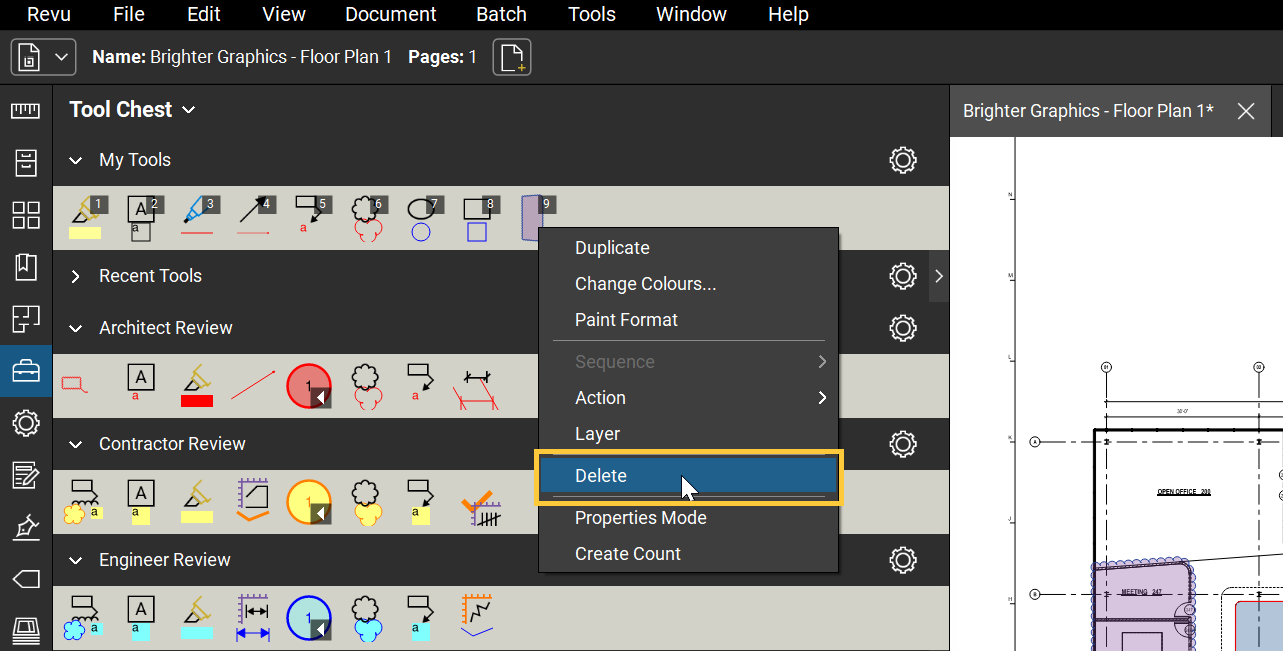
- You can delete a tool from a tool set. Right-click on the markup in the toolset > Then, select "Delete."
At the bottom of the Tool Chest, you can adjust how large the icons are by dragging the size scale.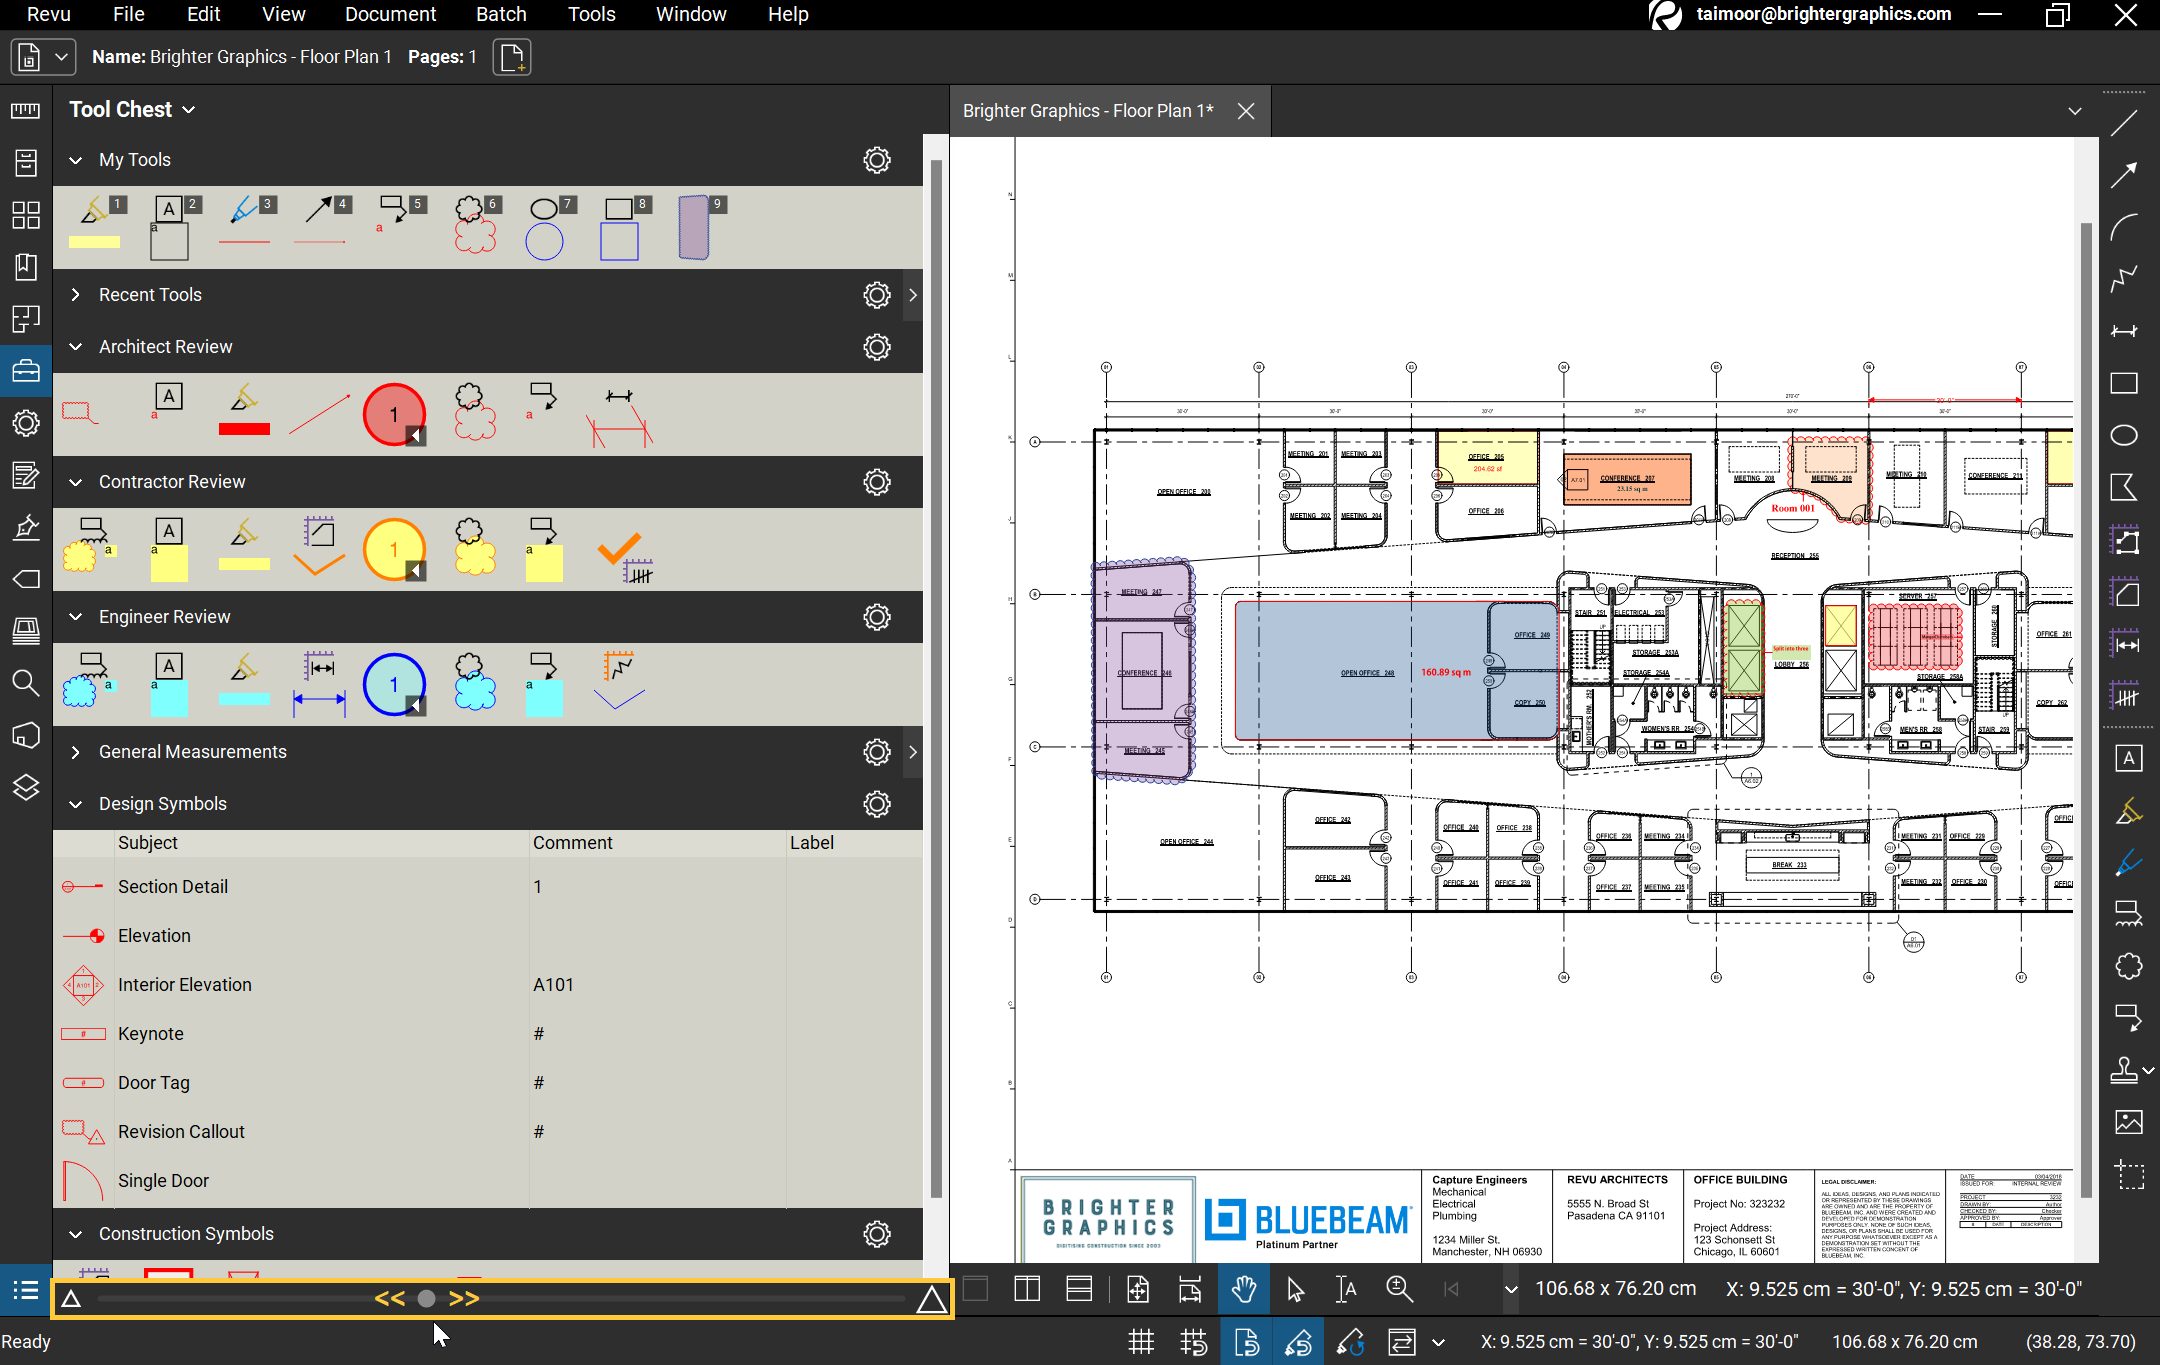
You can also activate or deactivate (Show or Hide) your toolsets by checking or unchecking the tool chest markup from the Tool Chest dropdown.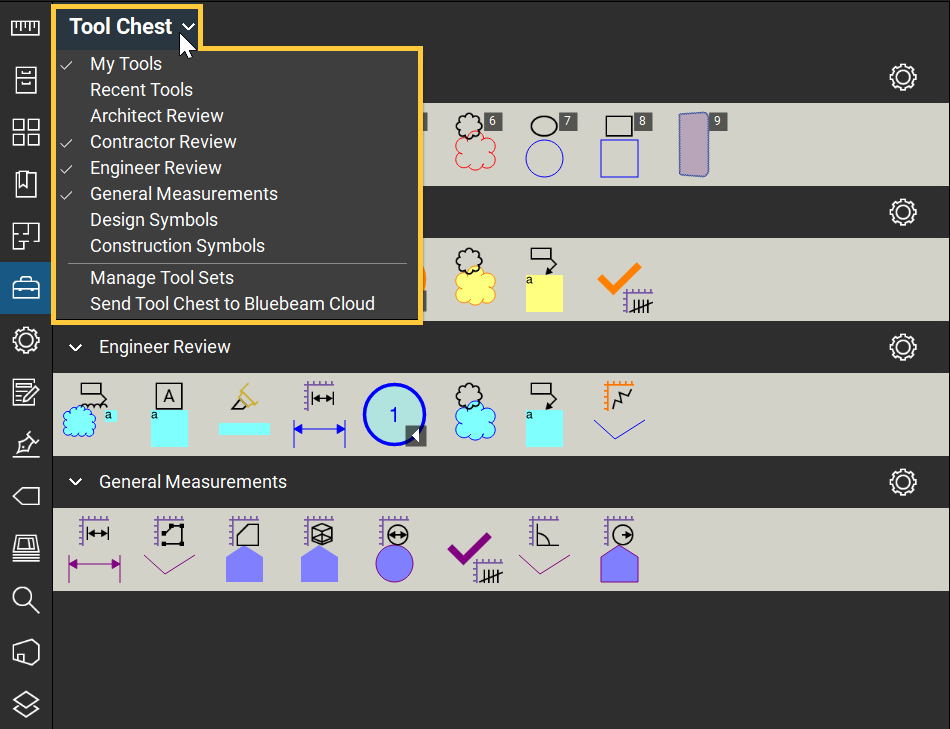
You can also add new tool sets by clicking "Manage Tool Sets” and share your desired tools on Bluebeam Cloud by clicking “Send Tool Chest to Bluebeam Cloud.”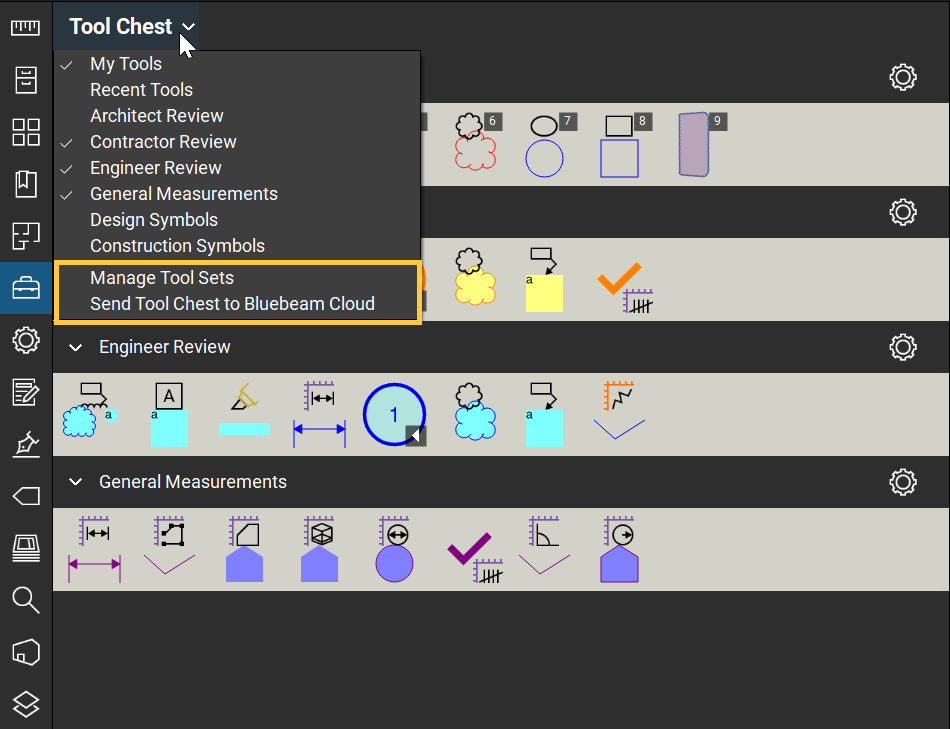
Now that you know how to use the Tool Chest in Bluebeam Revu, you can save time and work more efficiently on your projects. Keep in mind that you can always customise your tool sets to fit your needs, and don't forget to export and share them with your co-workers.


