

Consider a scenario where you're attending a meeting with your team to discuss a project, review multiple PDF plans, and try to keep track of everyone's ideas and comments. Your all team members are trying to communicate different project aspects and urgencies. It's obvious to get lost in the conversation. Because the PDF you're reviewing is cluttered with different notes and markups, it's hard to tell who denoted or propagated what. This is where Bluebeam Revu comes in.
Bluebeam Revu, a market-leading PDF editor and collaboration tool allows you to mark up your PDFs with annotations and comments. These markups are not part of the underlying content, which means they can be moved and edited with ease. Markups are a game-changer for collaborating on projects and saving time and costs. They provide a method for annotating your PDF, enhancing your communication, and saving you time. Revu conveniently tracks all markup activity with all crucial details in the Markups List.
In this step-by-step guide, we will show you how to edit PDF markups in Bluebeam Revu and track changes in the markups list. So, let's get started!
Markups List
The Markups List contains a list of all the markups on your PDF with all the necessary details.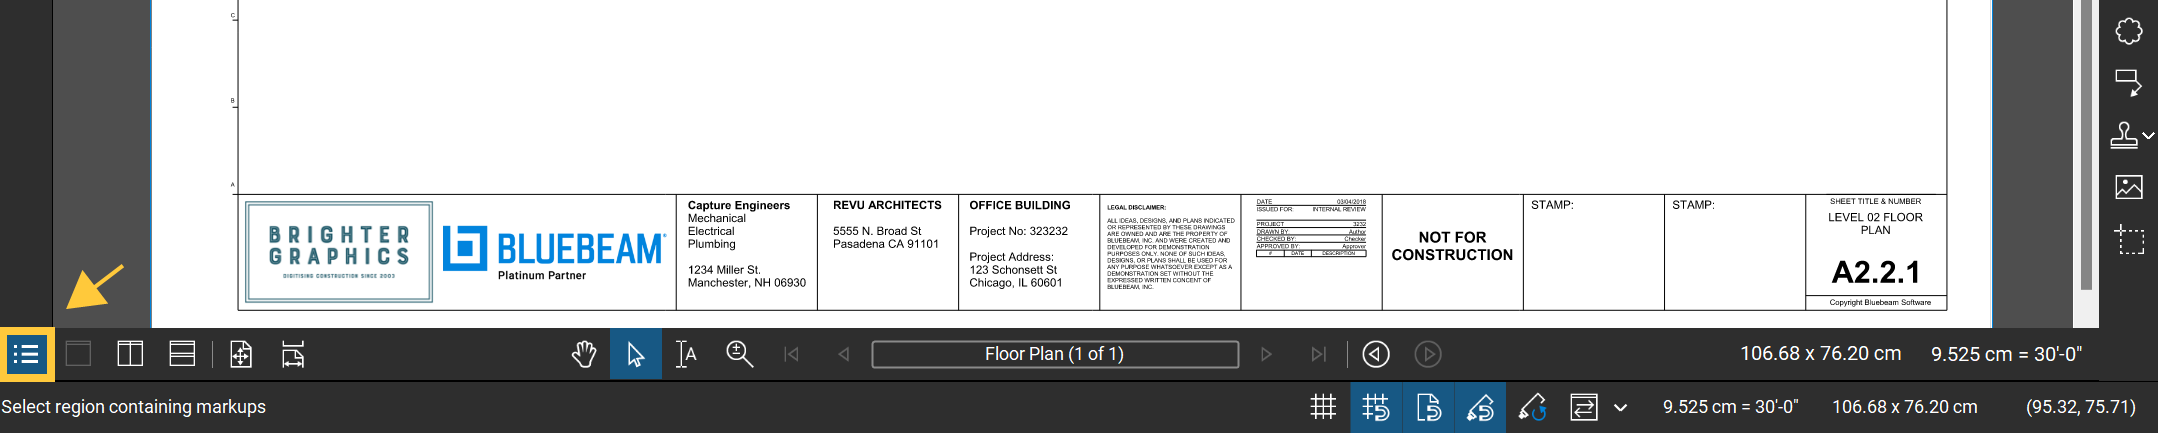
– Click the Markups List icon at the extreme left corner of the Navigation Bar.
The panel starts showing detailed information about all the existing markups on your PDF.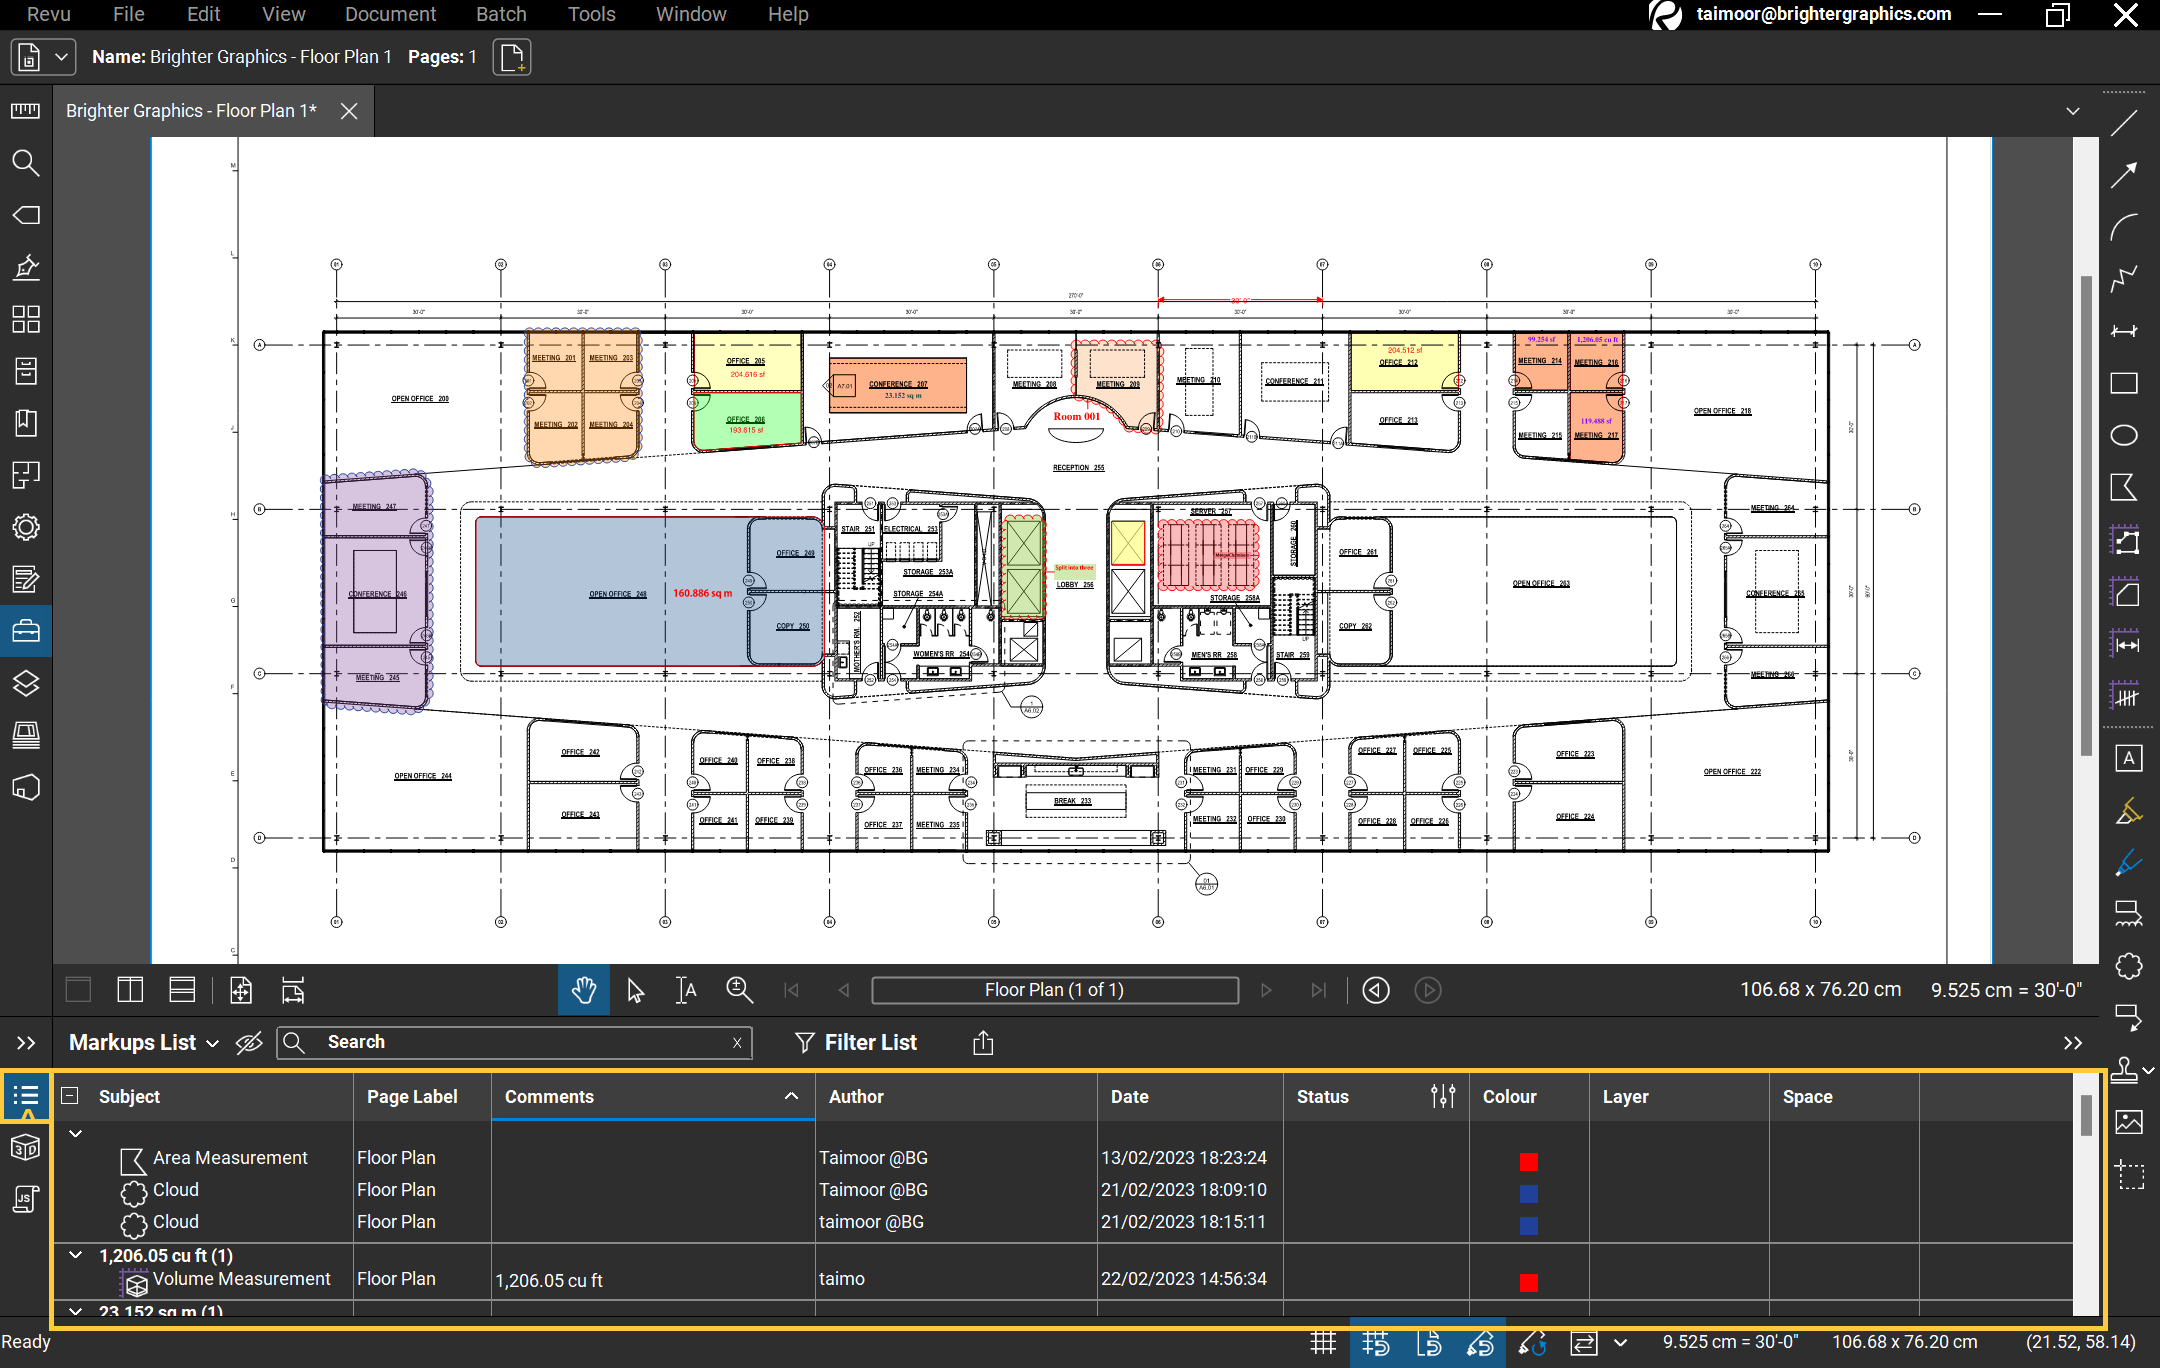
– Click on the specific markup under the Markups List, and it will start showing details like:
- Subject (Markup name and type)
- Page Label (e.g., Floor Plan/category)
- Author name (Bluebeam username of markup creator)
- Date (Date of Creation)
- Markup Status (History of all comments and reviews for the markup)
- Colour (You can set different identifications colours to be used later to filter & navigate results)
- Layer (Layer name if you are working with multiple layers on the same drawing)
- Space
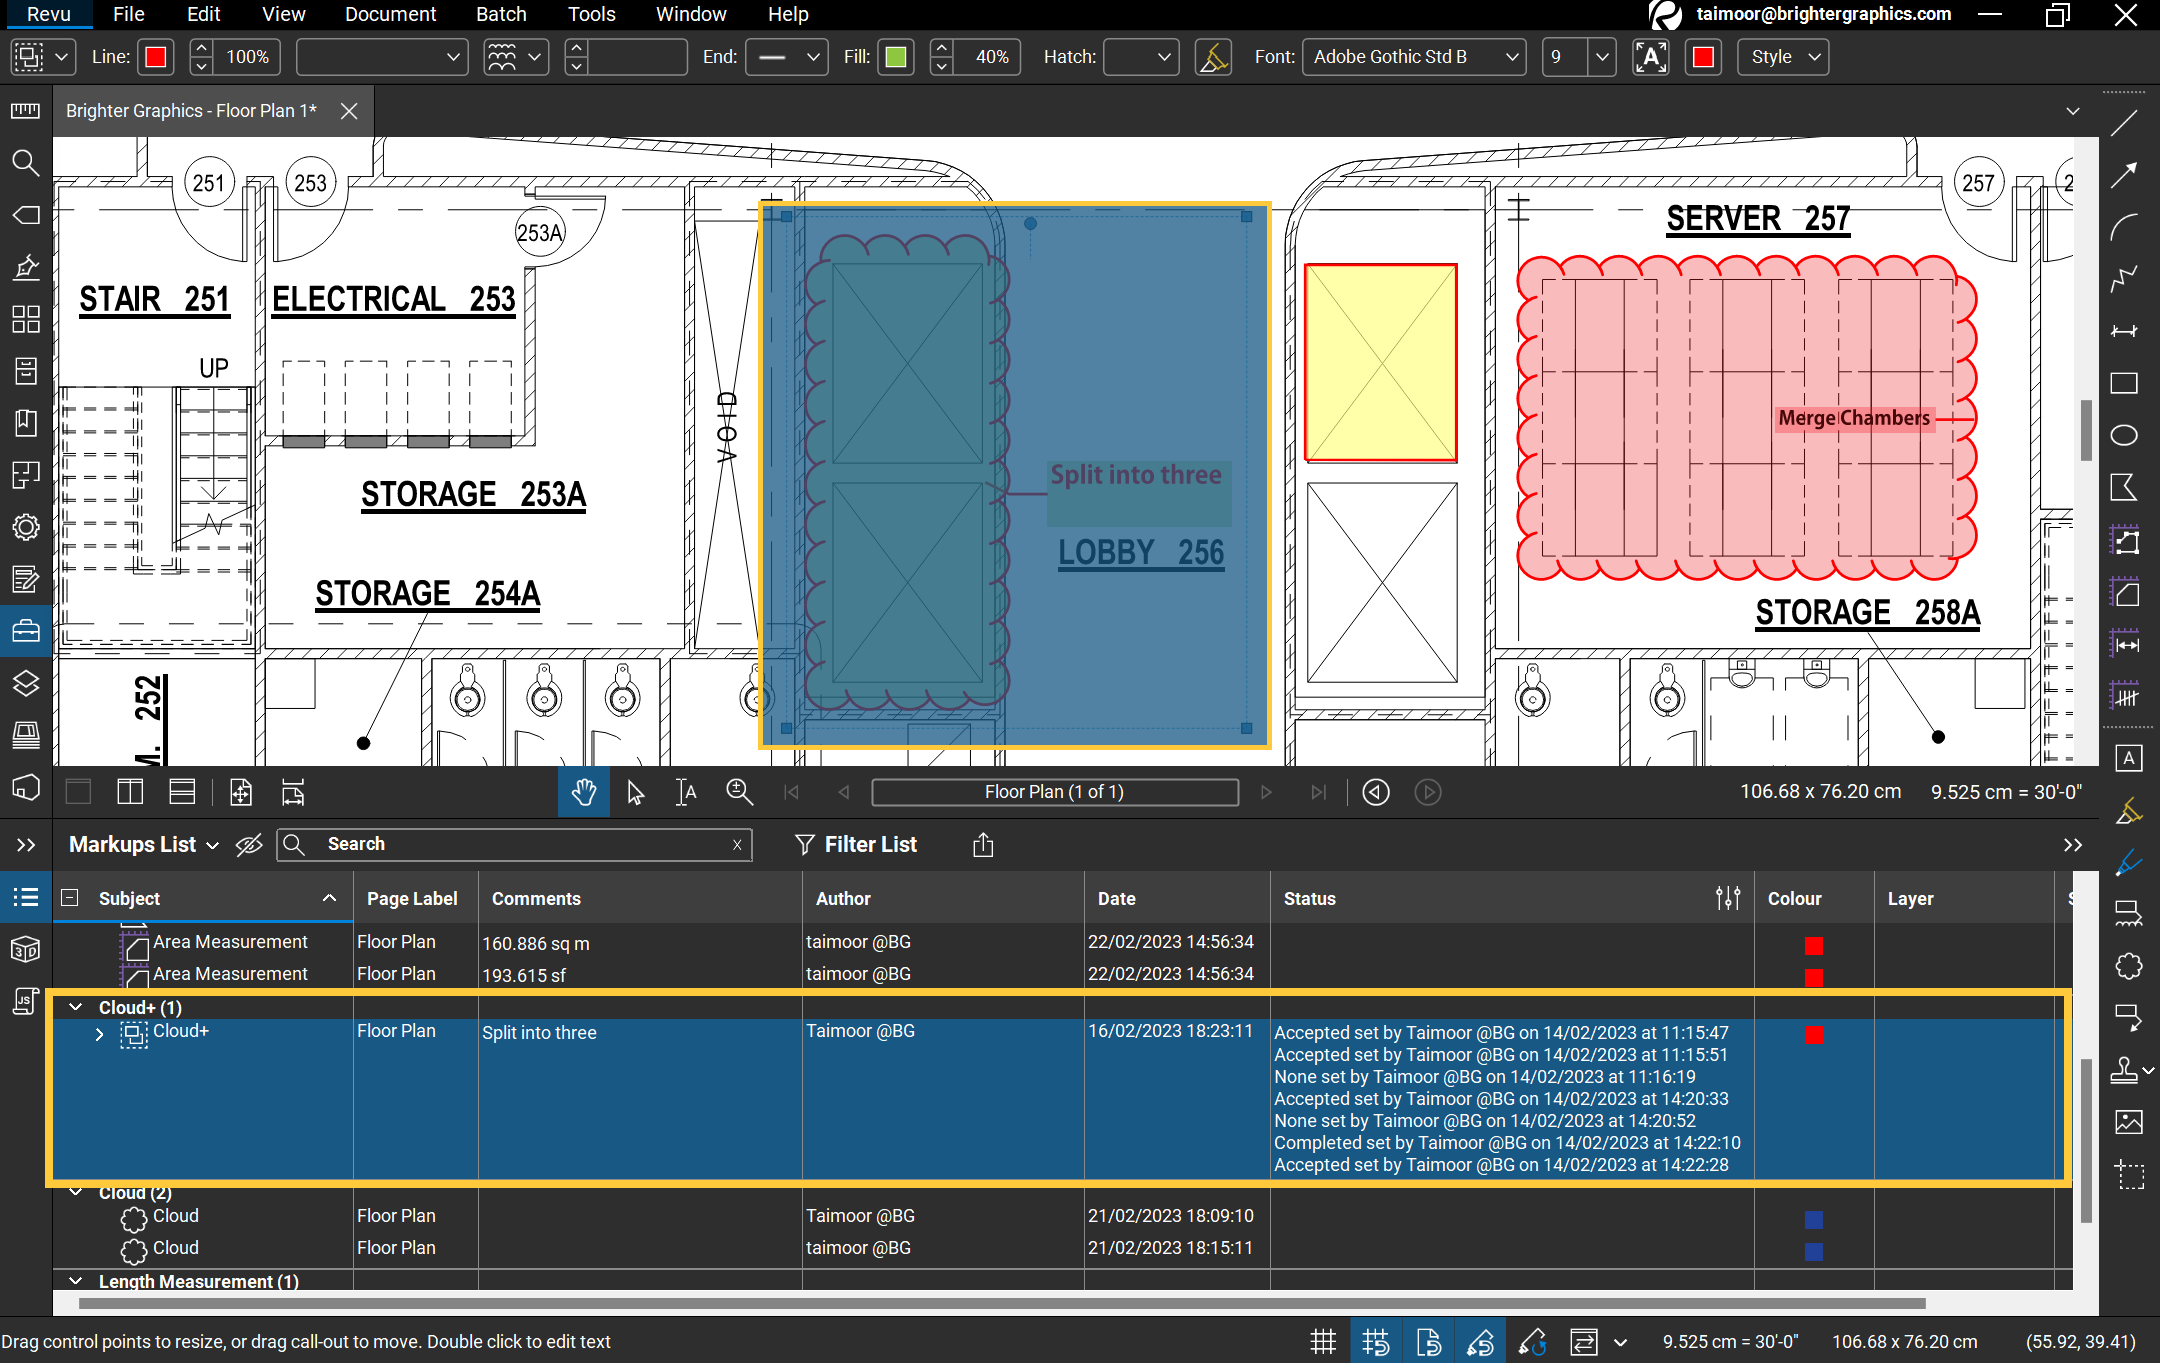
Replying to Comments
To reply to Markups in the Comments section:
– Right-click on the Markup you want to reply > From the menu click on Reply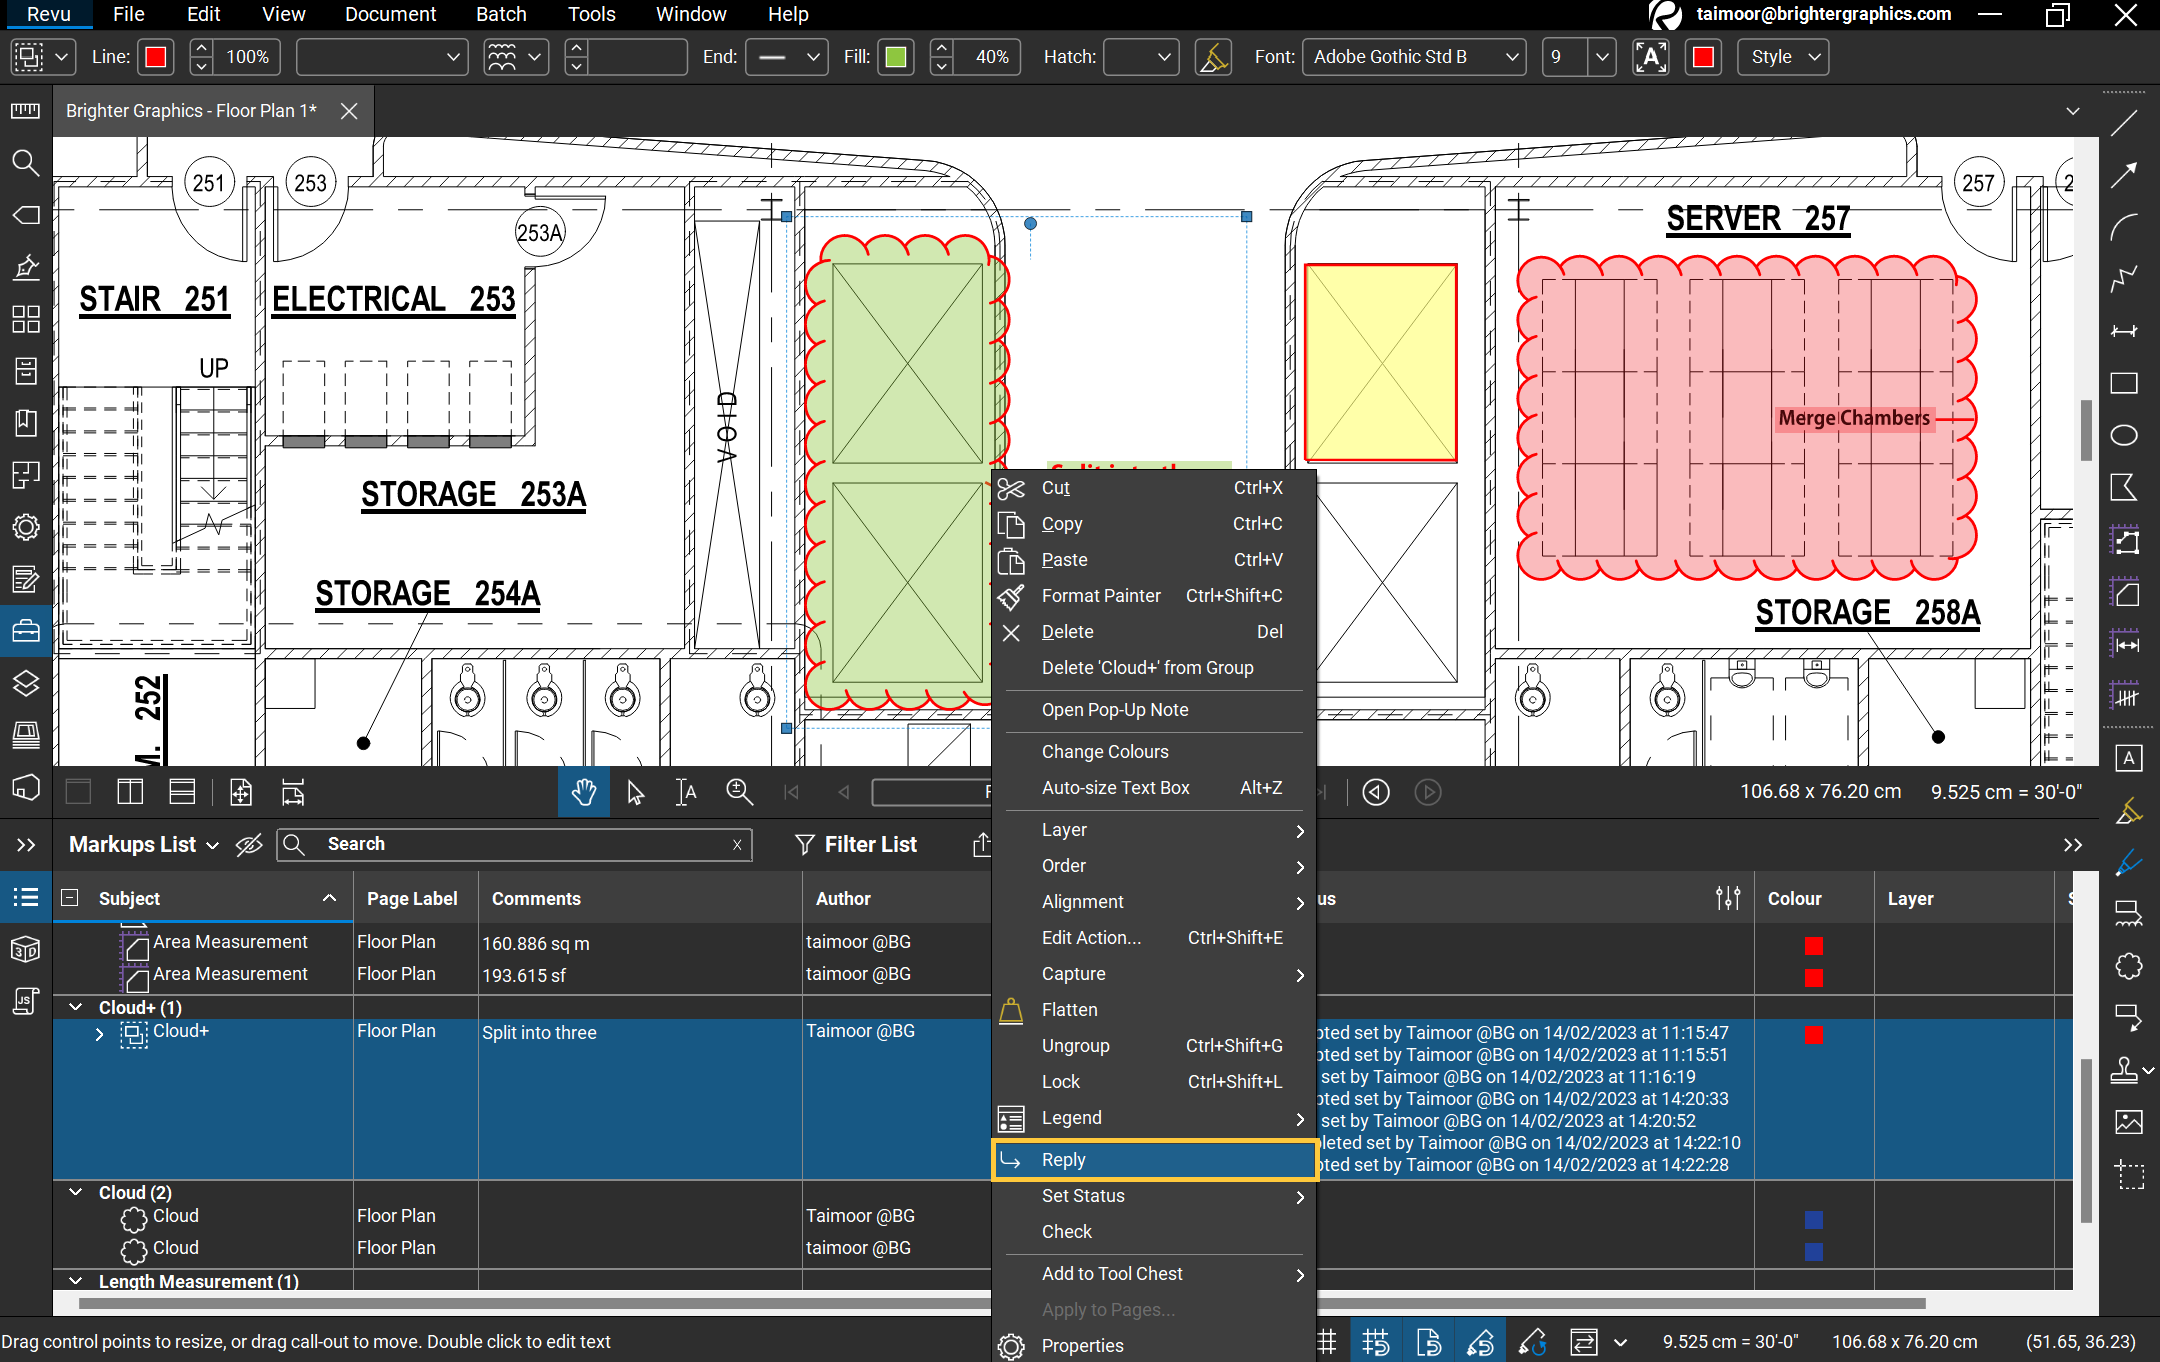
– Add comments in the comment box under the Markups List. You can also add comments by double-clicking on the Comments column of desired markup under the Markups List.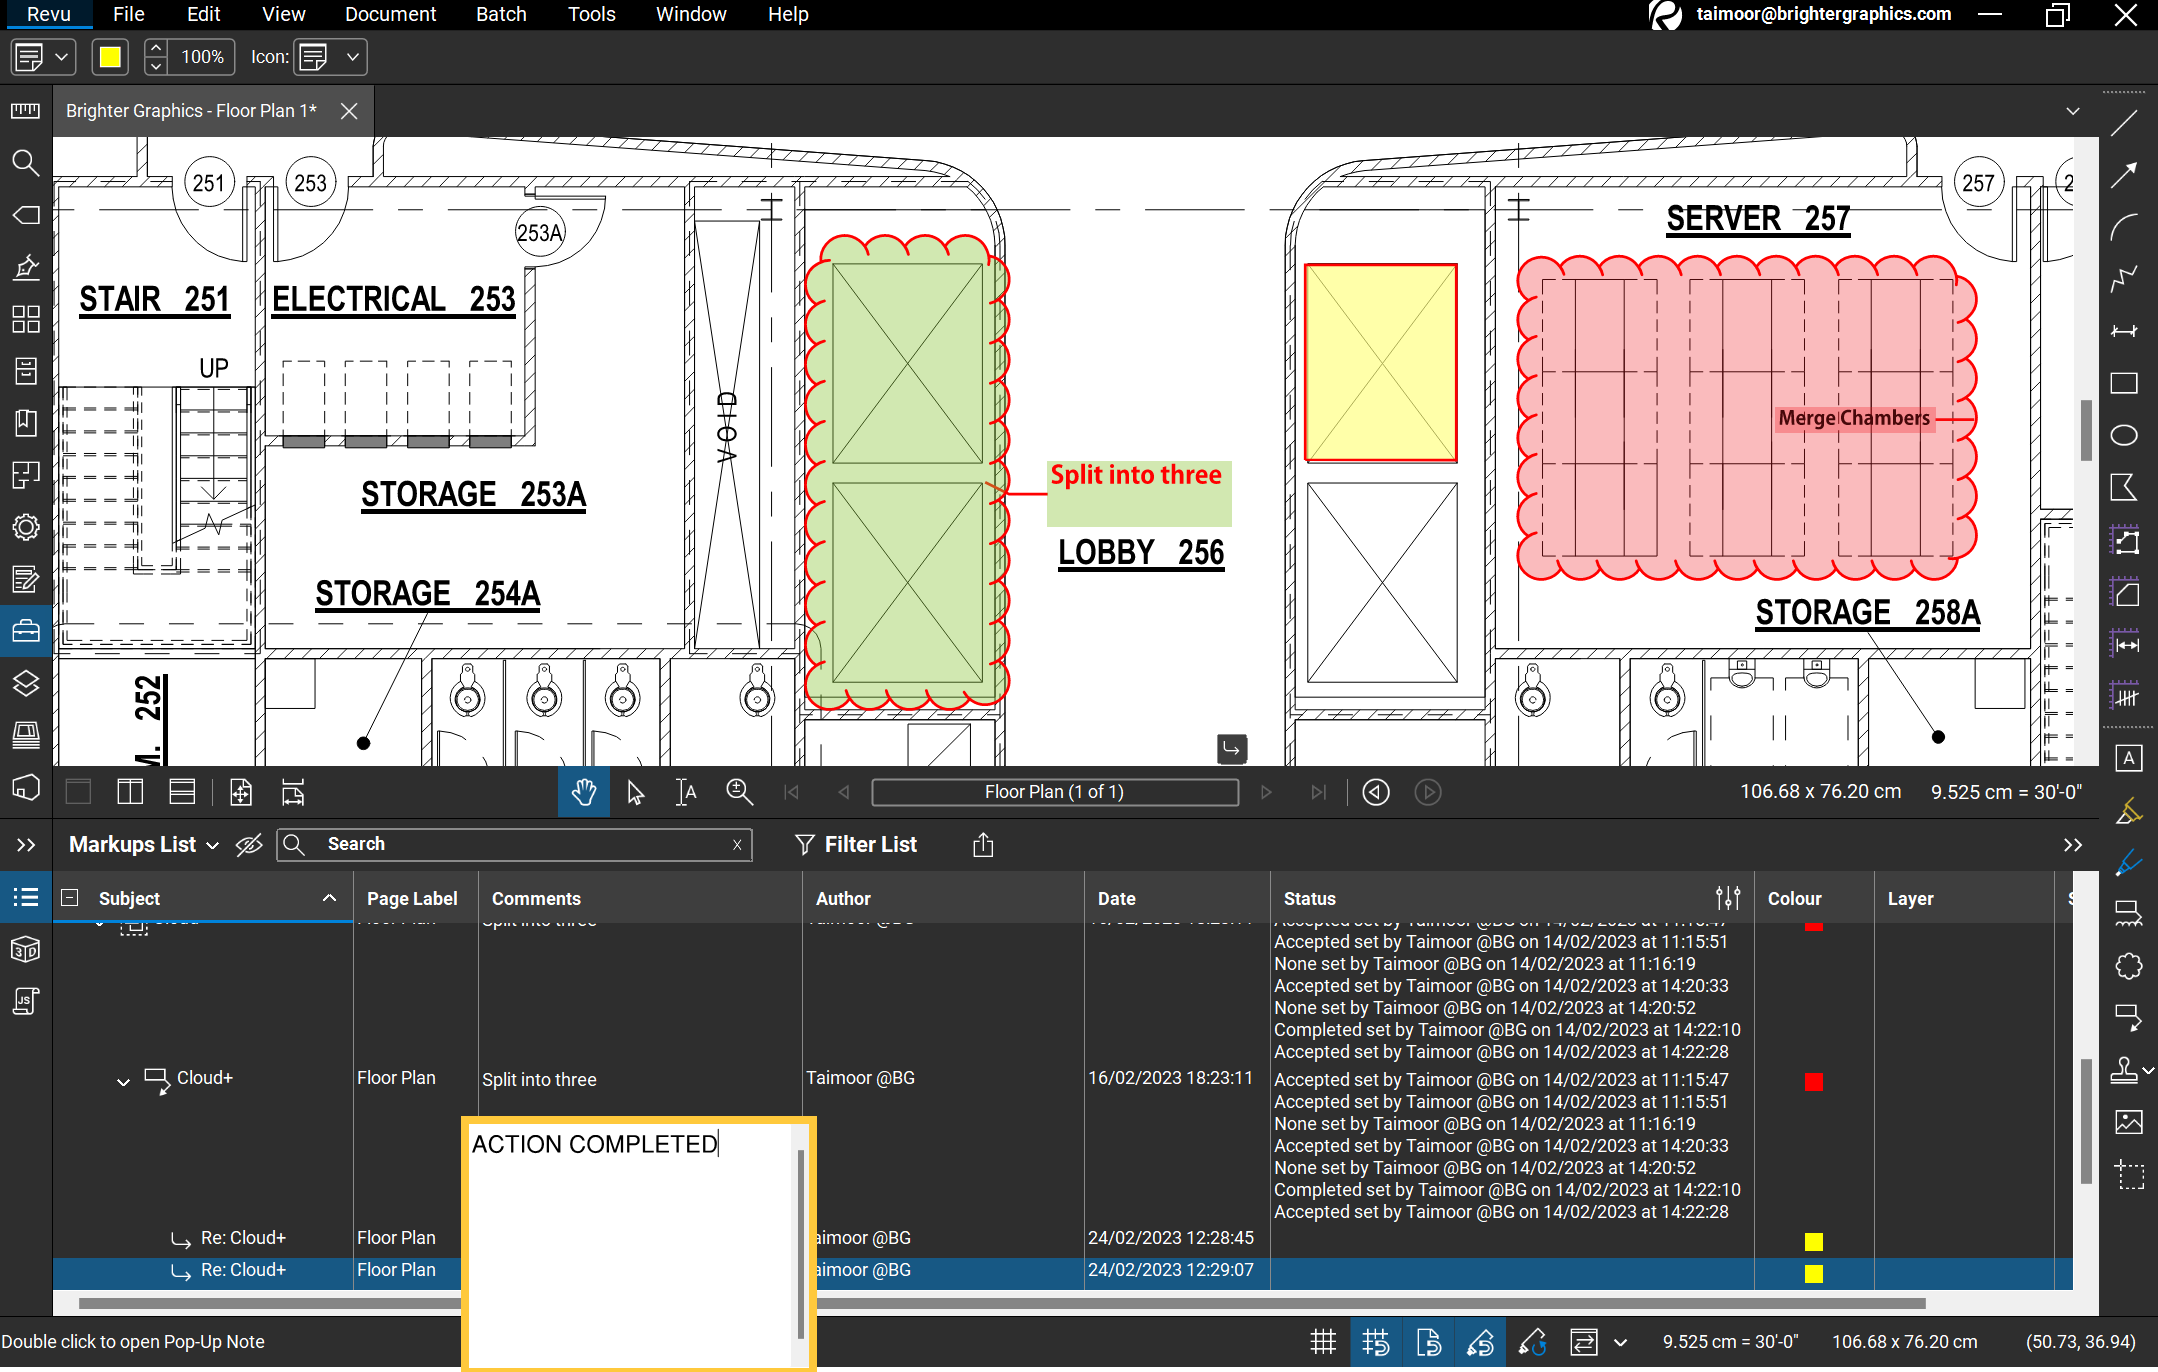
Updating Markup Status
You can review whether an item has been “Accepted”, “Rejected”, “Cancelled”, or “Completed” or update migration status as “Confirmed” or “Not Confirmed”. To update markup status:
– Right Click on the markup you want to review > Hover your cursor over the Set Status option > Mark your status from the Review menu.
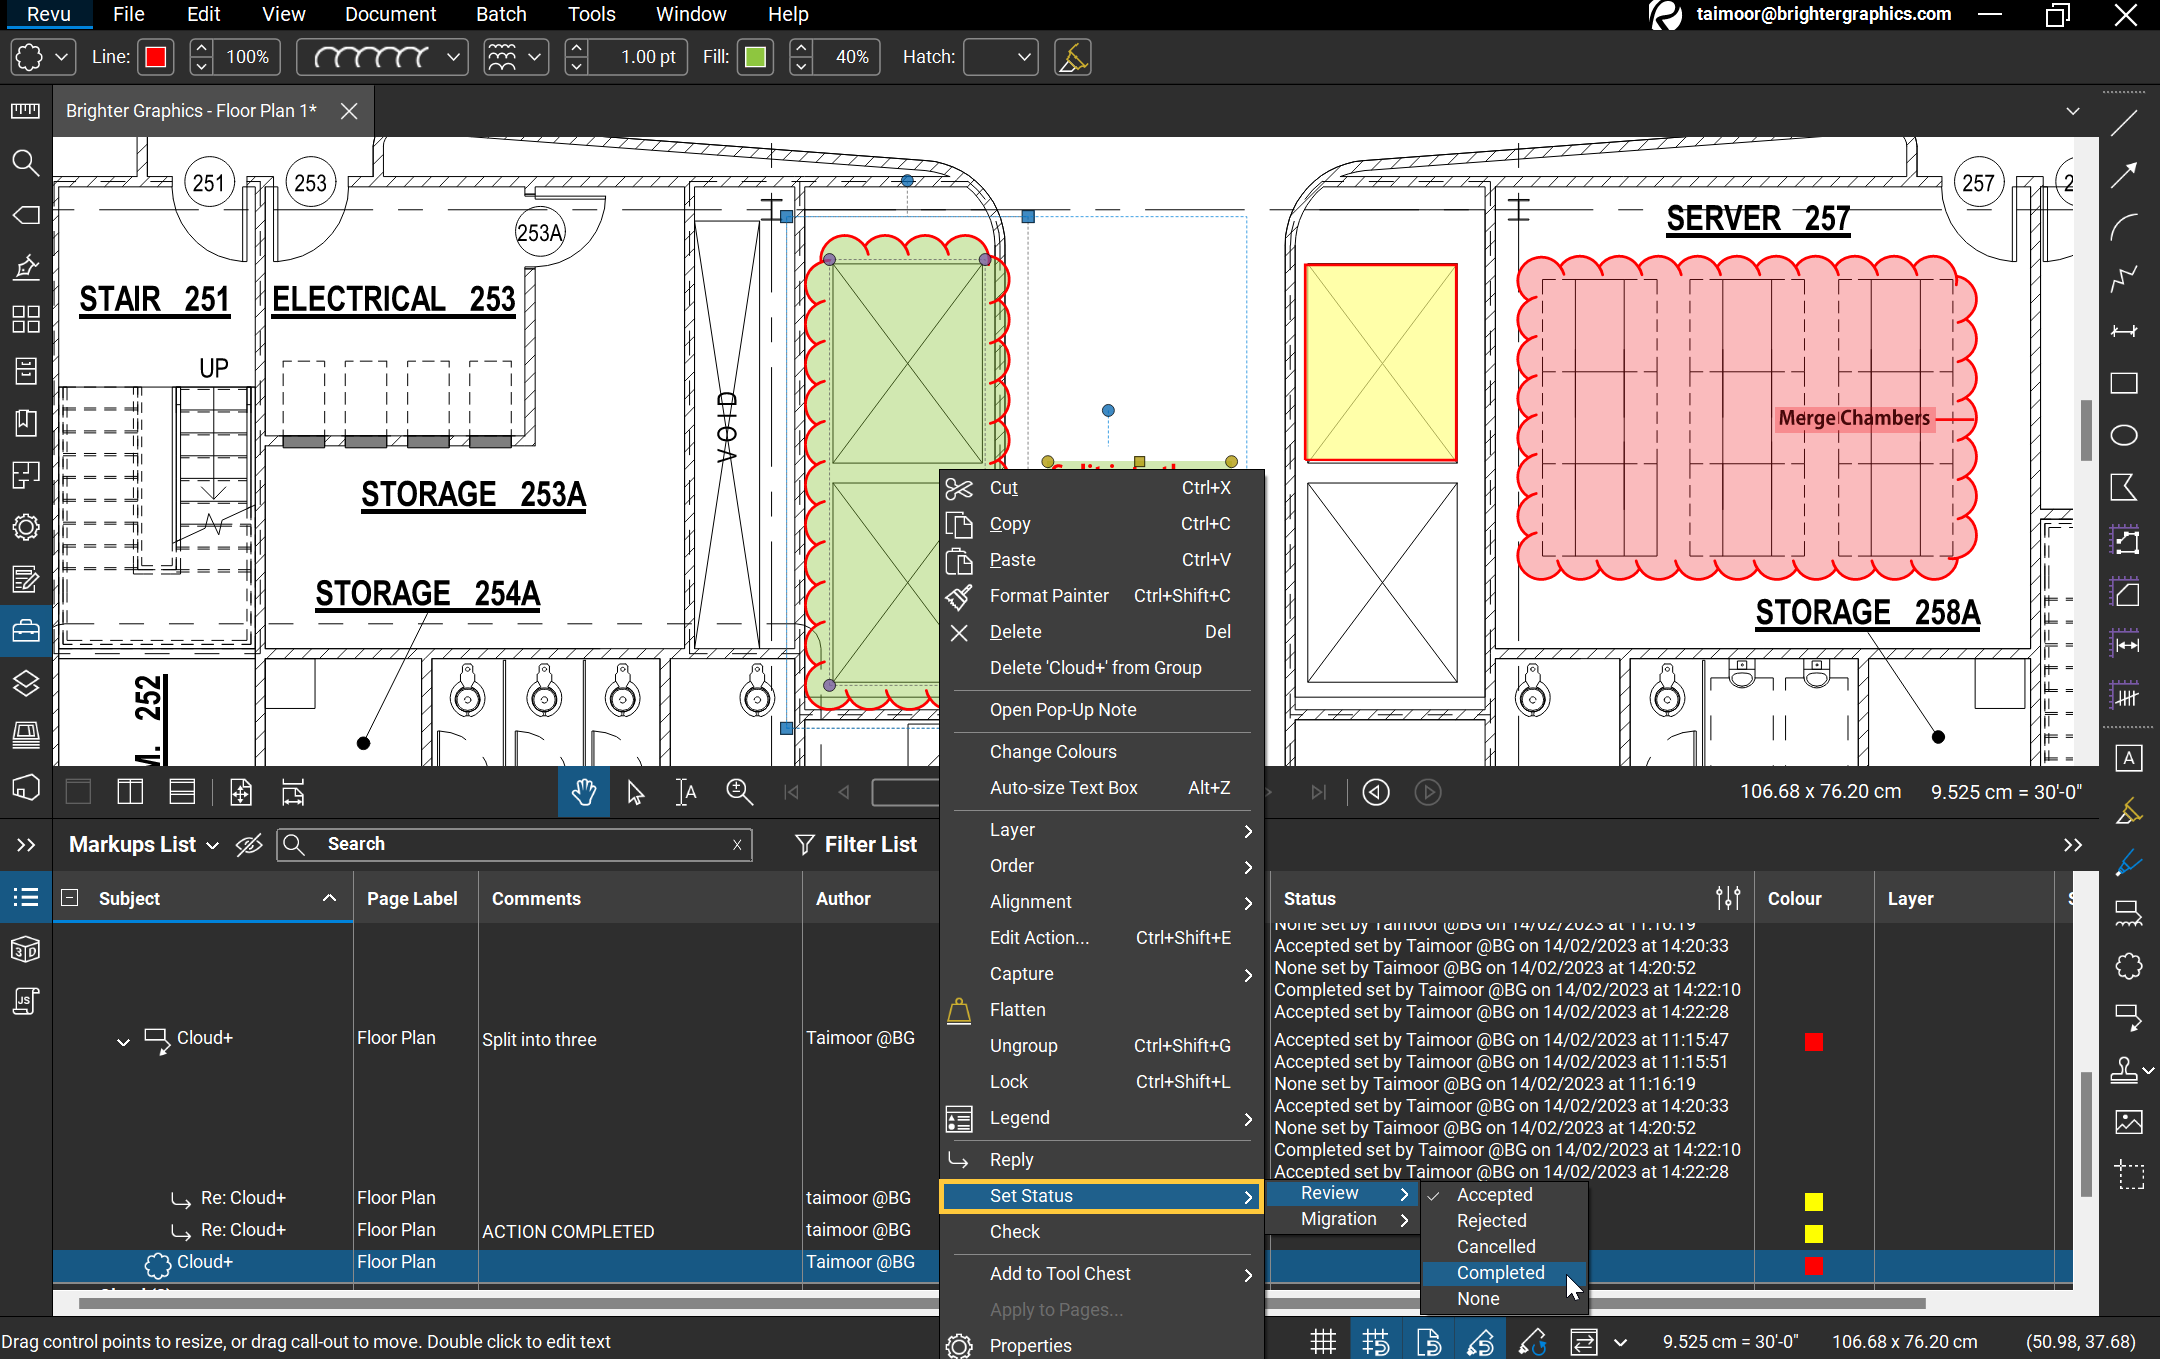
Updating Markup Status
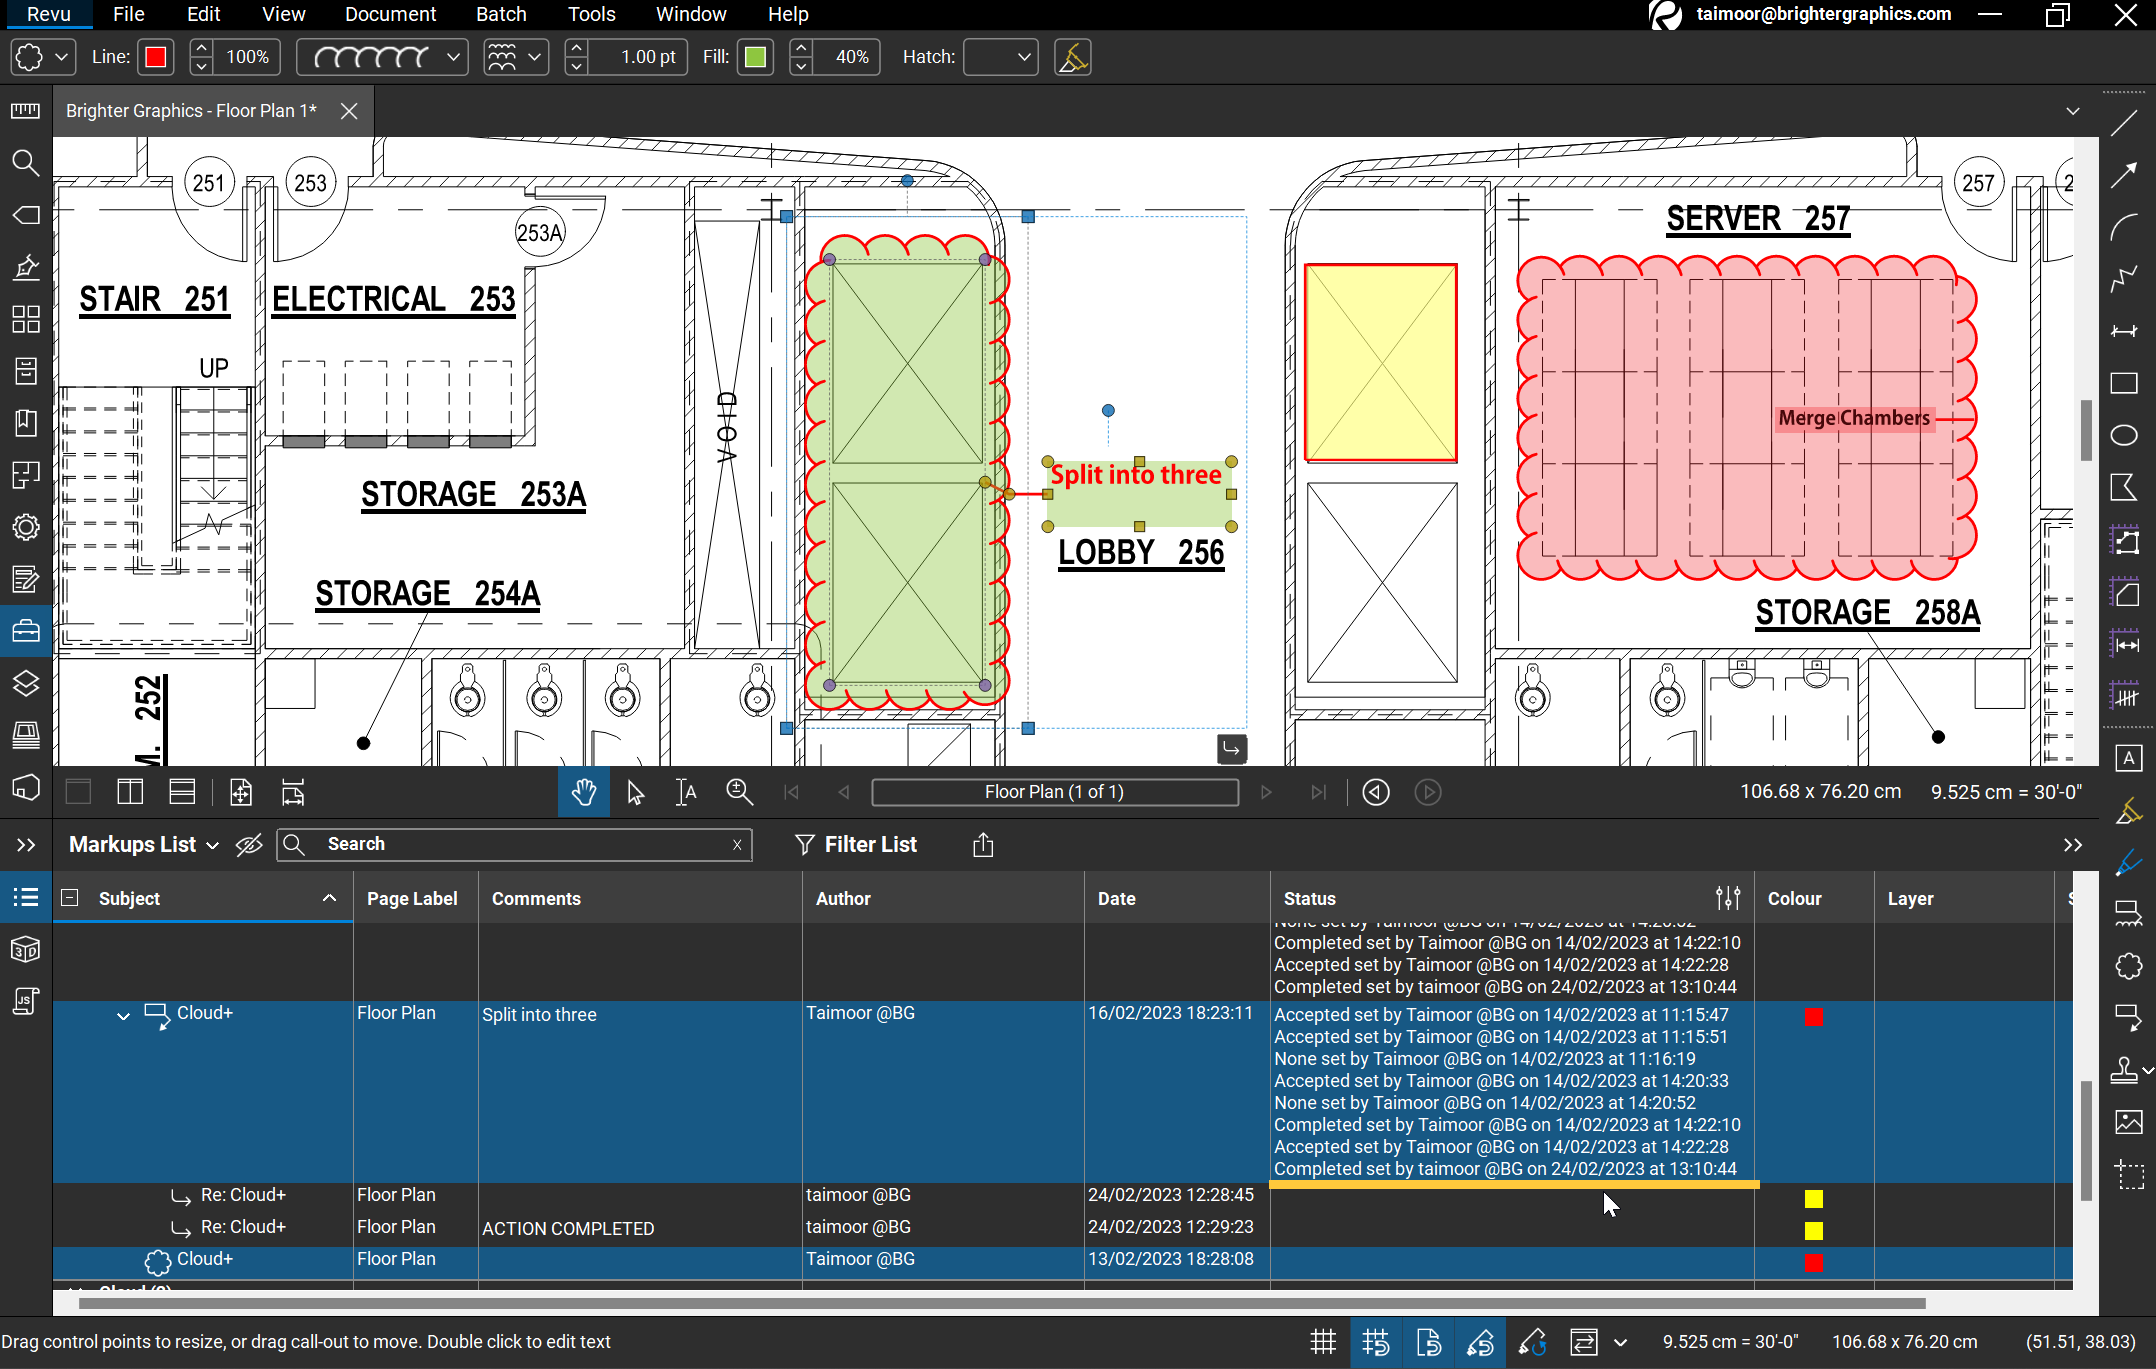
Markup Status Updated
Learn more about how to use and apply different markups in Bluebeam Revu to annotate and mark your PDF drawings.


